Brakes and Brake Pedals


July - Sept 2020 Description of brake construction. Finally made a decision to add brakes. Not so much for stopping, but for runups and I know when landing on asphalt (if and when necessary) it is difficult to stop. Again, in the spirit of keeping it simple, I deceided on disc brakes, easily obtained on line from a go-cart site.
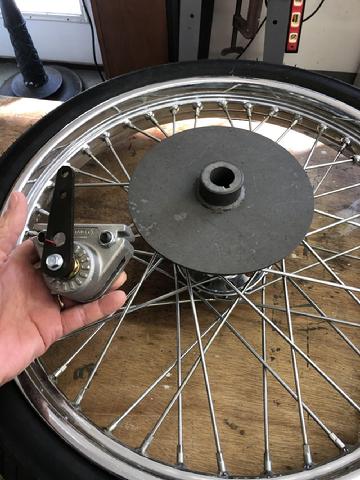
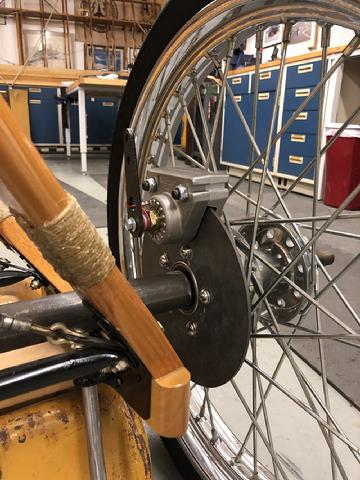
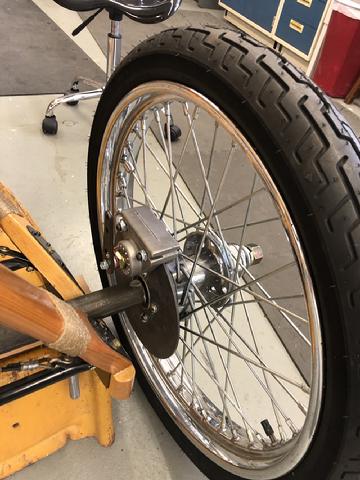
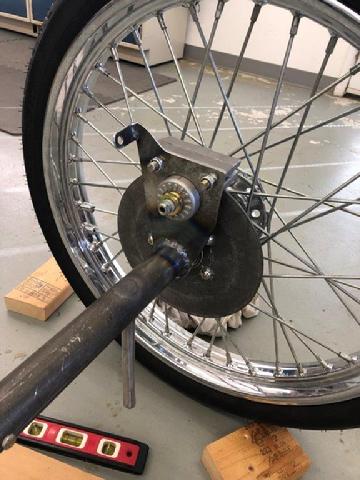
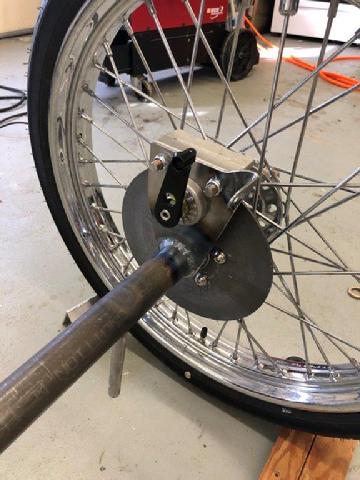
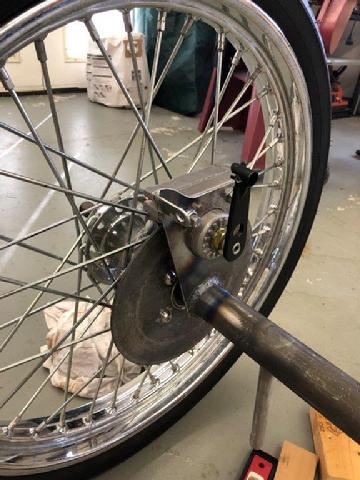
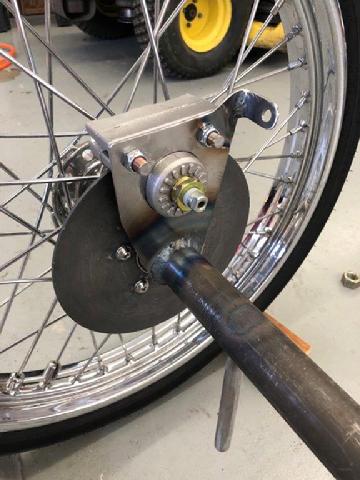
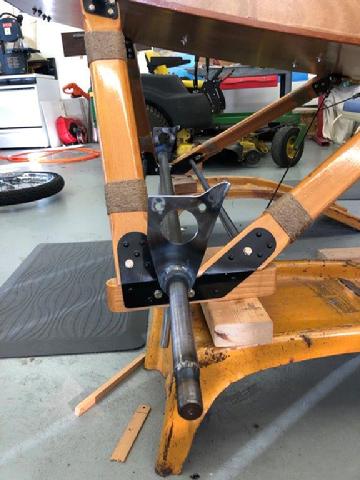
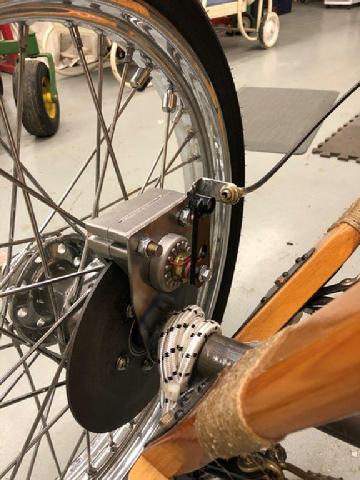
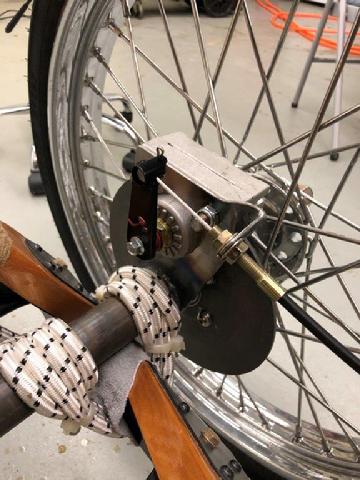
Once decided, I adjusted the axle and determined where the calipers would go. To keep the axle from spinning, I made two flanges and welded rods to the bottom of my axle that fit into the flanges. The axle is now stable and does not rotate.
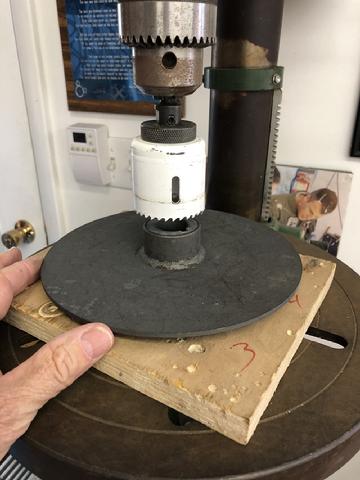
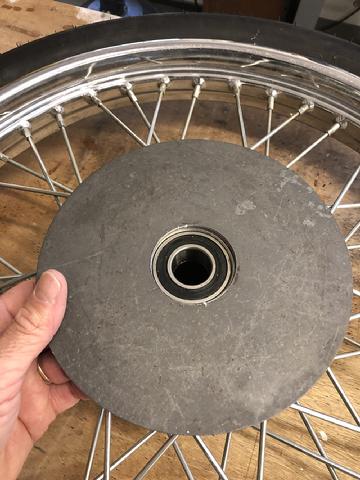
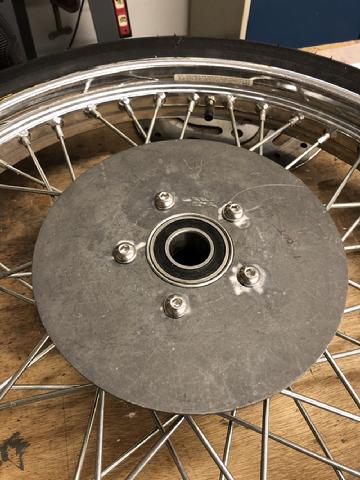
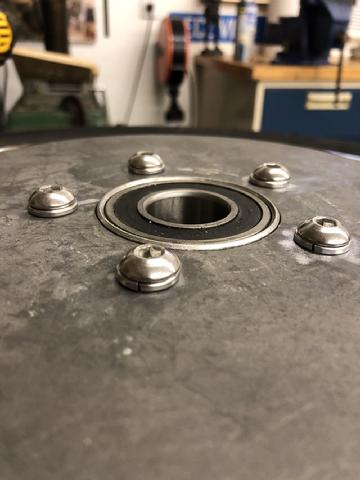
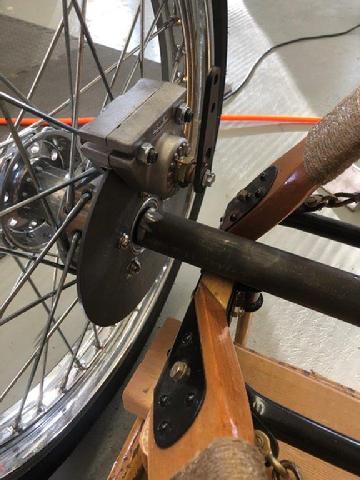
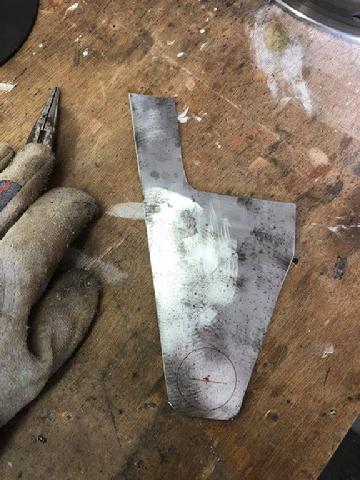
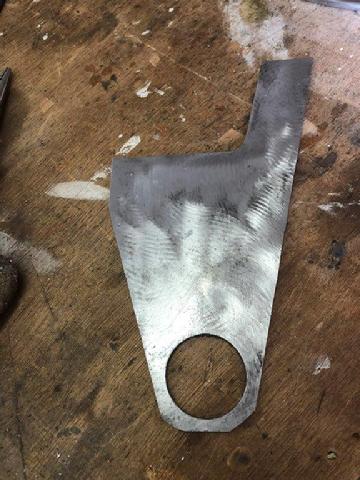
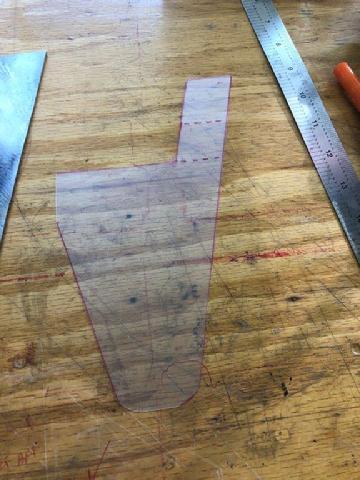
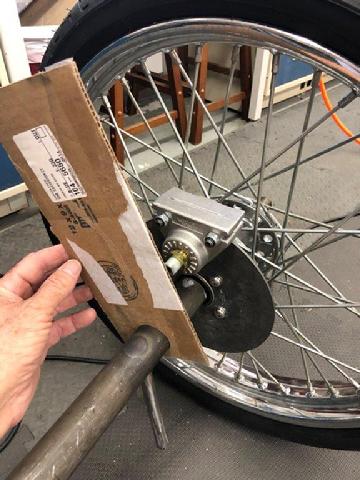
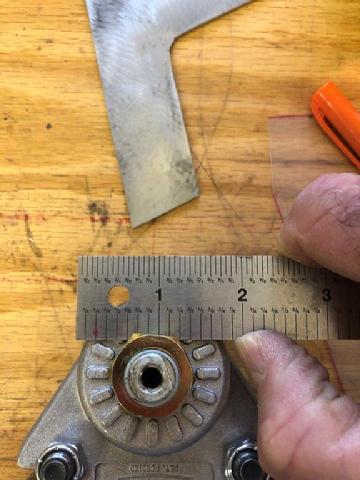
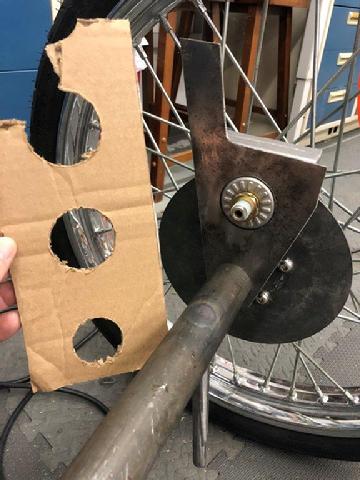
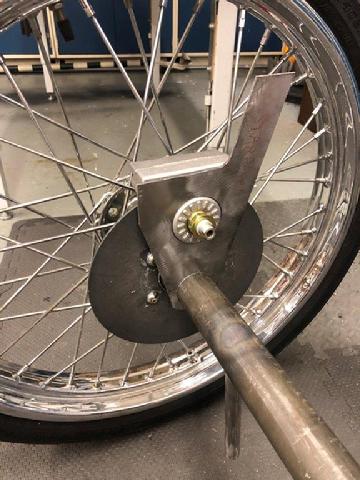
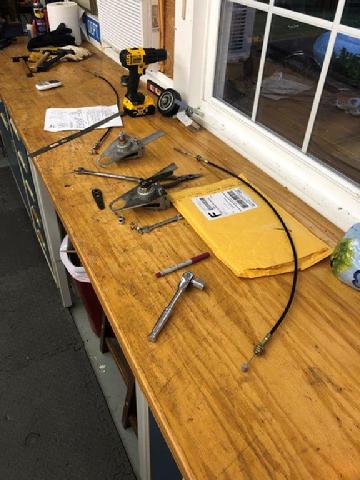
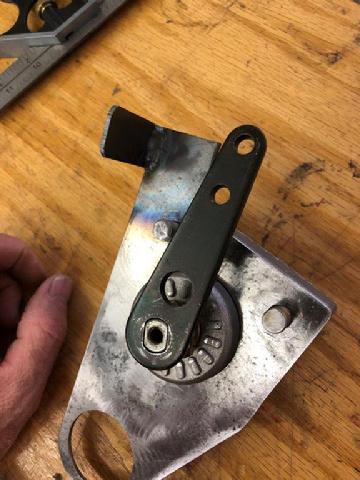
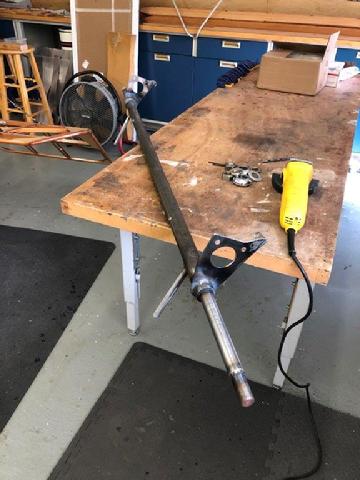
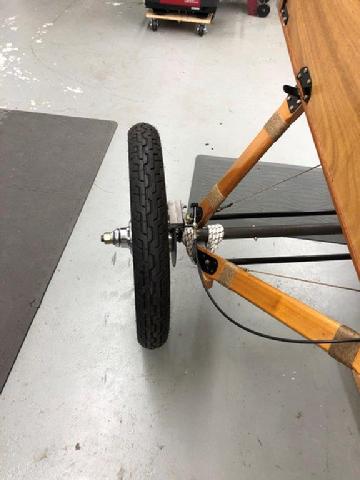
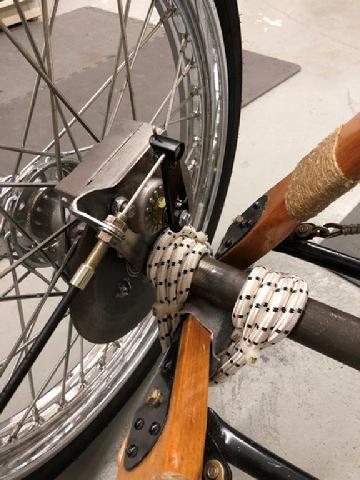
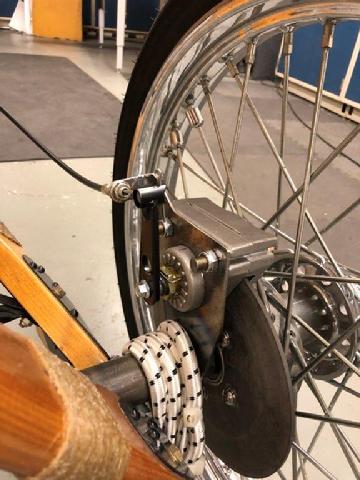
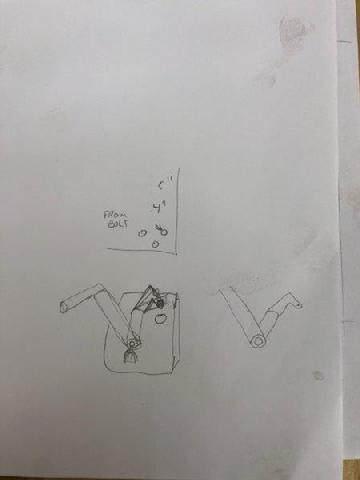
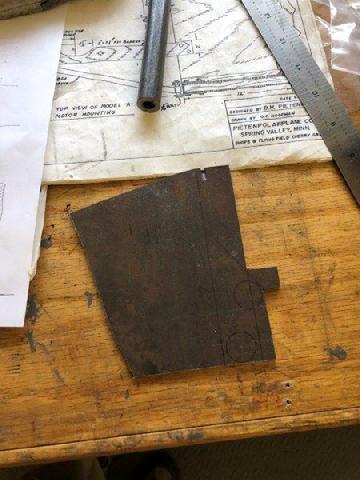
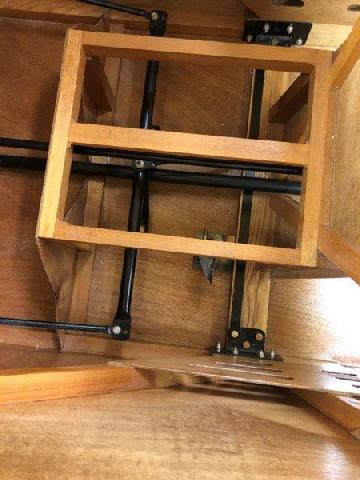
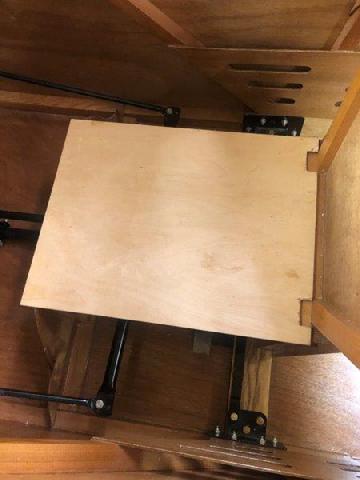
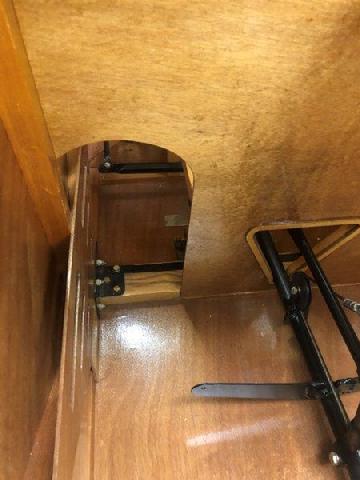
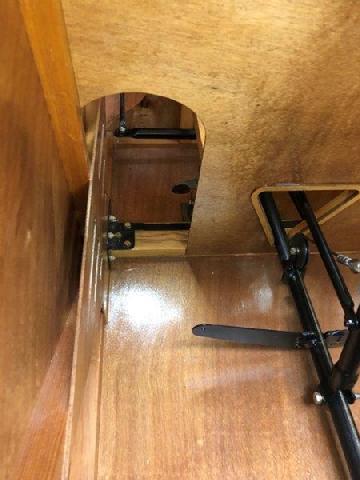
The discs were very hard metal (of course), but the size looked perfect for my wheels. My metal hole saw fit perfectly over the disc hubs and they were quikly cut out. I thn made a template out of clear coverssheet for the wheel holes and drilled them out. So far so good. Then it was on to making a flange to hold the brake caliper. Copying something I saw online, I used sturdy 4130 and started making left and right hand brackets. I drilled out hoes on the bottom of each bracket to fit over the axle, that was the easy part. Making a template to ensue the caliper fit into the braket was a little bit of a challenge. Back to simple... I used a piece of cardboard, cut a hoe for the axle and then pressed the cardboard against the caliper to get a perfect indentation... such a simple temple, but it worked perfectly. Finished these off with attachments for the brake cable, then welded thes to the axle. I bungied the axle back on and attached the brake cables. The cables will probably run under the rear landing gear leg, then up thru the bottom of the fuselage, just inboard of the holes for the rear pilots foot acces. One of the pictures show the brake peddle mechanism, on the outside of the fuselage, for the explanation. I then started making actually brake pedals, capture in pictures below.Hours: 10.0
Once decided, I adjusted the axle and determined where the calipers would go. To keep the axle from spinning, I made two flanges and welded rods to the bottom of my axle that fit into the flanges. The axle is now stable and does not rotate.
The discs were very hard metal (of course), but the size looked perfect for my wheels. My metal hole saw fit perfectly over the disc hubs and they were quikly cut out. I thn made a template out of clear coverssheet for the wheel holes and drilled them out. So far so good. Then it was on to making a flange to hold the brake caliper. Copying something I saw online, I used sturdy 4130 and started making left and right hand brackets. I drilled out hoes on the bottom of each bracket to fit over the axle, that was the easy part. Making a template to ensue the caliper fit into the braket was a little bit of a challenge. Back to simple... I used a piece of cardboard, cut a hoe for the axle and then pressed the cardboard against the caliper to get a perfect indentation... such a simple temple, but it worked perfectly. Finished these off with attachments for the brake cable, then welded thes to the axle. I bungied the axle back on and attached the brake cables. The cables will probably run under the rear landing gear leg, then up thru the bottom of the fuselage, just inboard of the holes for the rear pilots foot acces. One of the pictures show the brake peddle mechanism, on the outside of the fuselage, for the explanation. I then started making actually brake pedals, capture in pictures below.Hours: 10.0
Brake Pedals
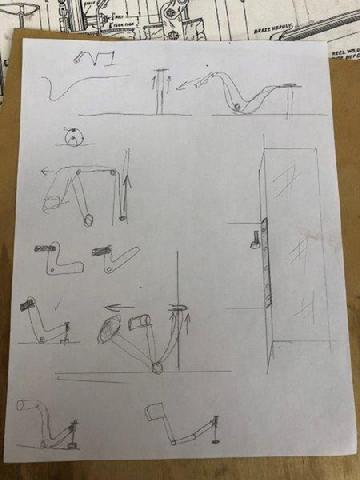
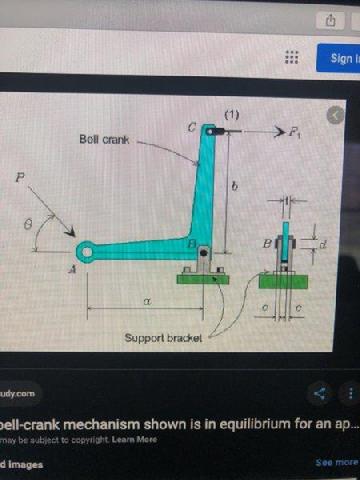
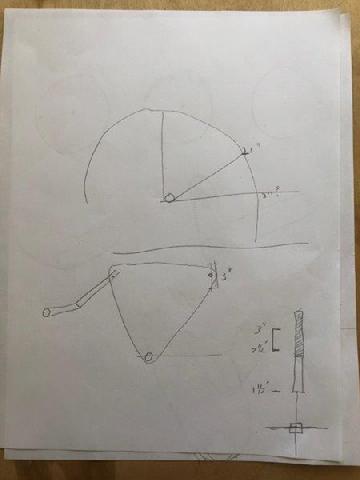
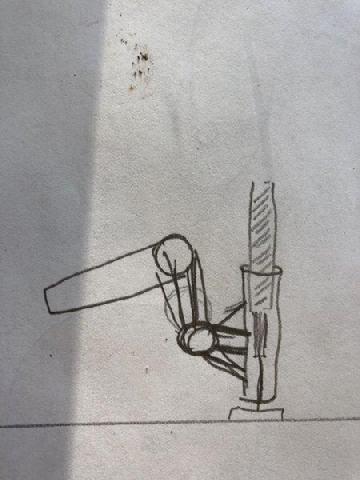
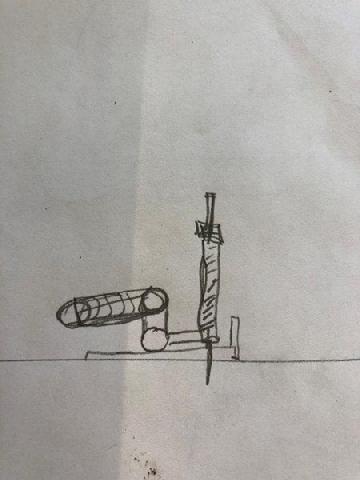

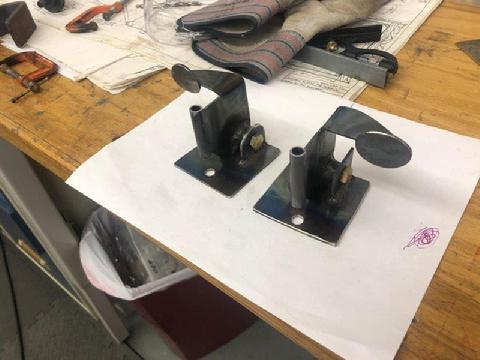

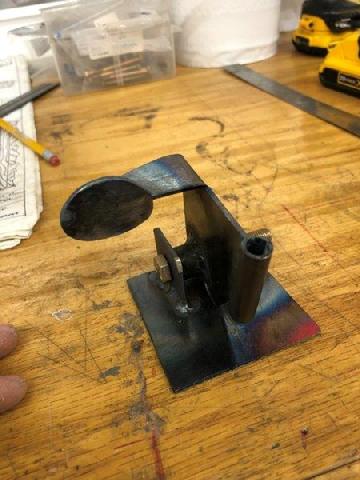

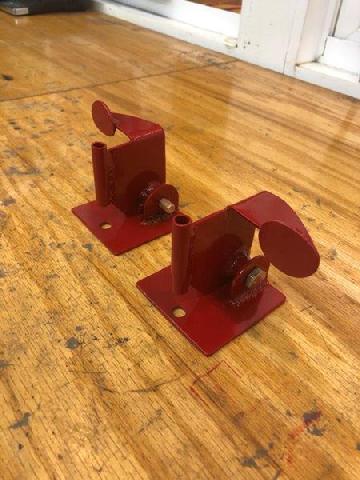

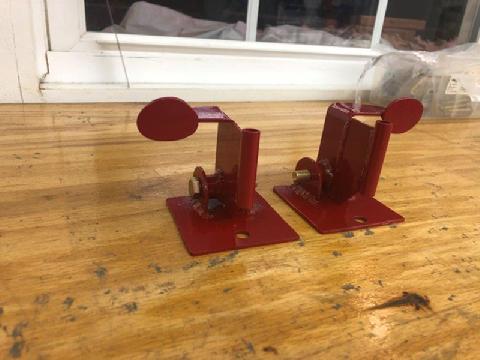
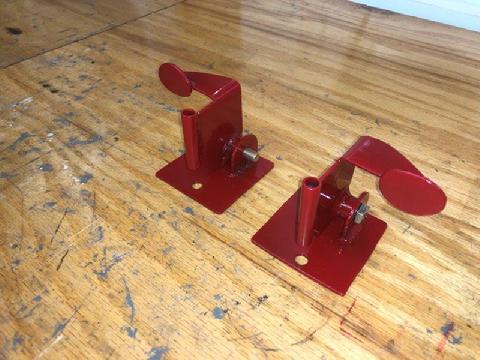
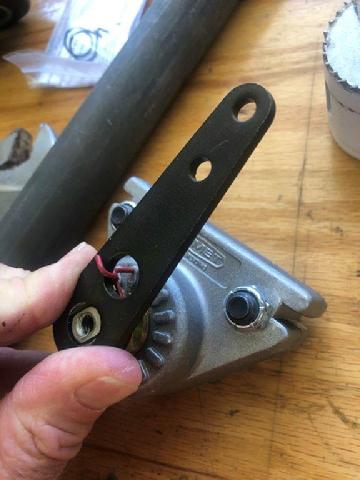
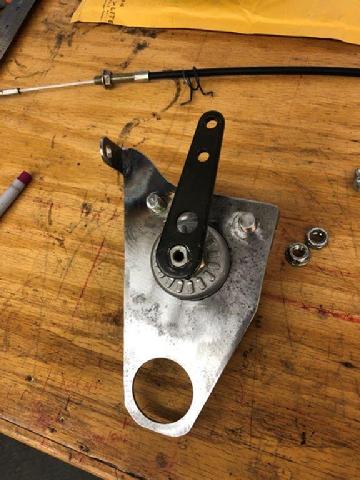
Sept - Oct 2020 Brake peddles. For the brake peddles I drew out several versions I thought might work, and did some research. I found the simplest and most efficient way to utilize the cables was to have the cables come up from under the fuseage and be pulled up/actuate by foot pressure. I came up with the following design and they came out pretty well. They will be installed under the forward passanger seat, on respective sides. They will stick out into the foot/leg holes just far enough to be see and able to be accessed by the rear pilot. I owder coated these (red for brakes of course) and set them aside.Hours: 6.0