Metal Fabrication
I've tried to consolidate my metal work projects here. So pictures are generally duplicative, copied from their respective project pages, however I might have missed some.
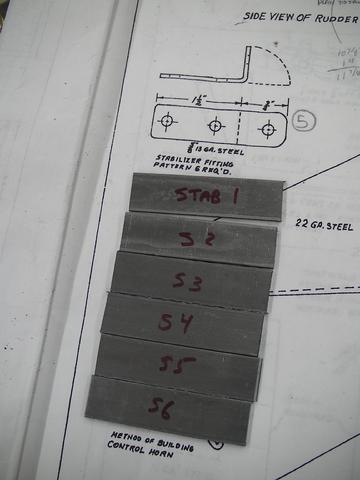
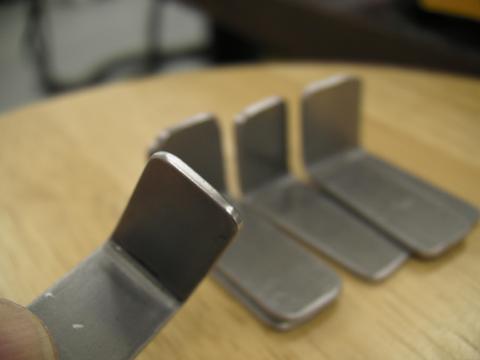
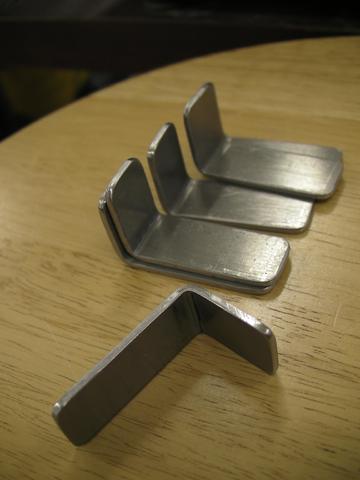
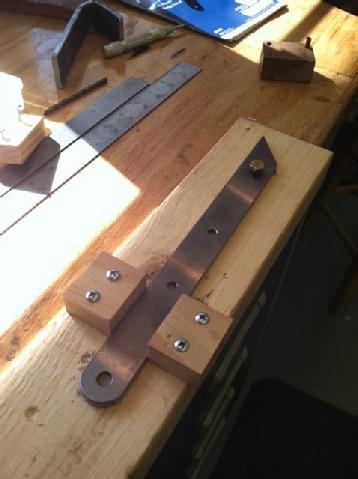
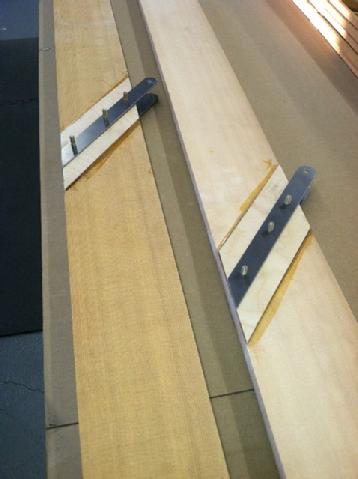
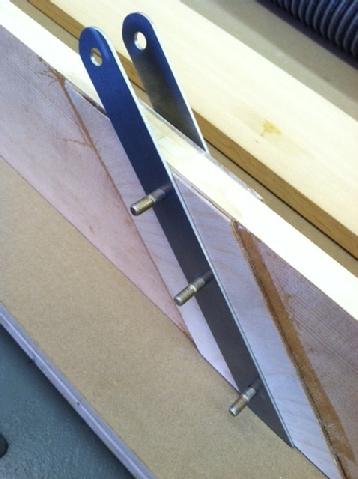
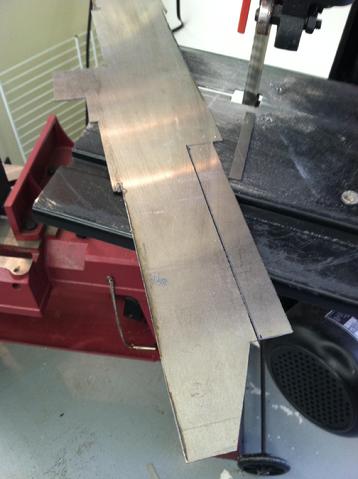
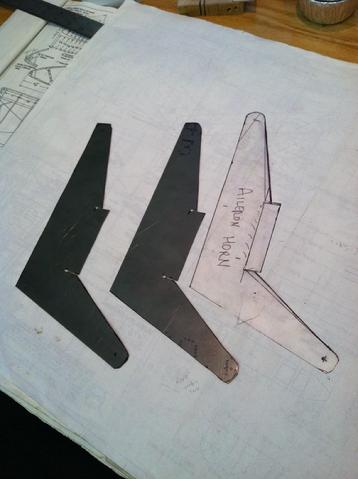
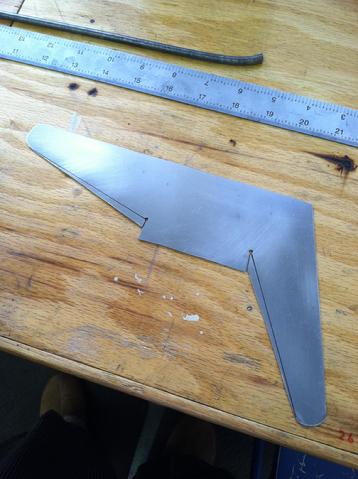
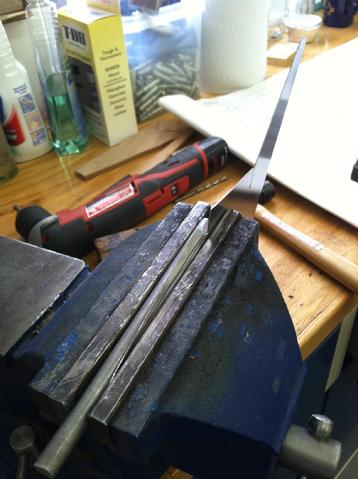
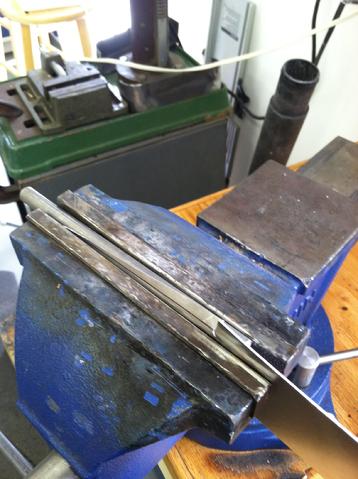
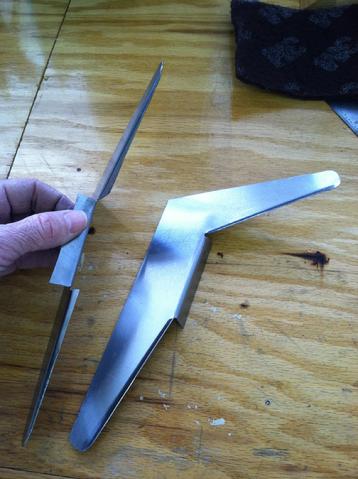
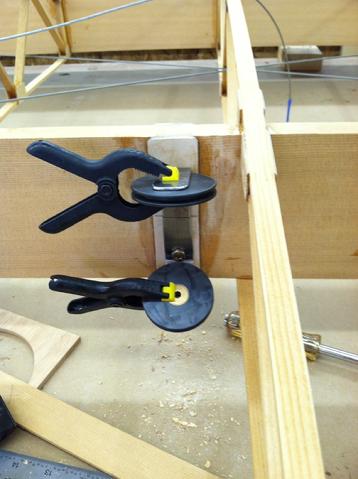
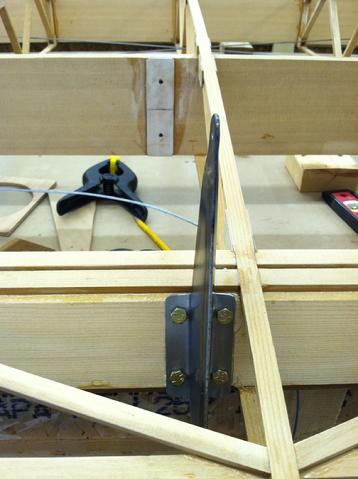
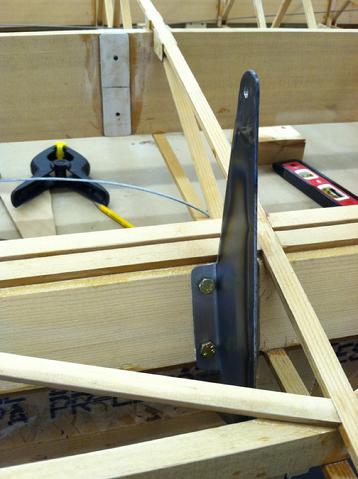
Stabilizer pieces...

.jpg)
.jpg)

.jpg)
.jpg)
.jpg)
.jpg)
.jpg)
.jpg)
.jpg)
.jpg)
.jpg)
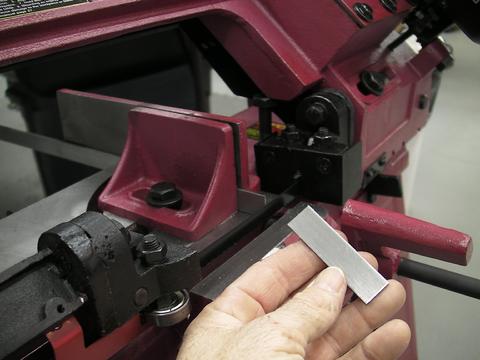
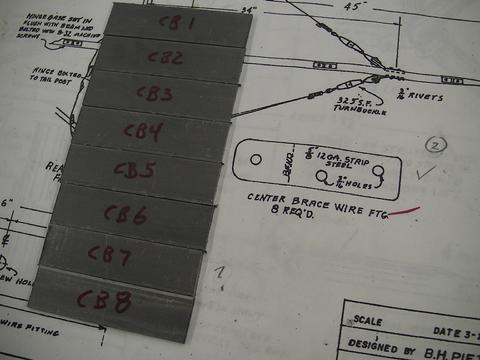
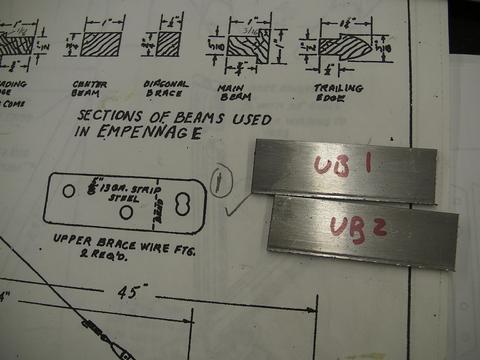
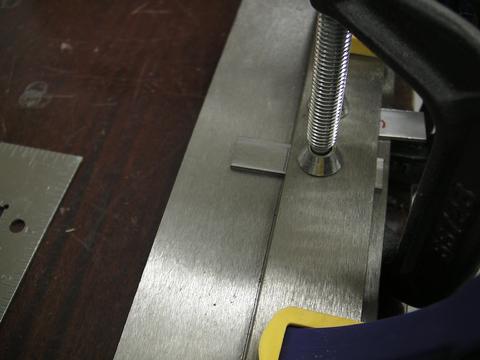
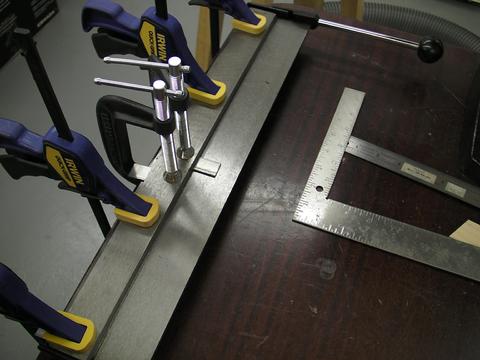
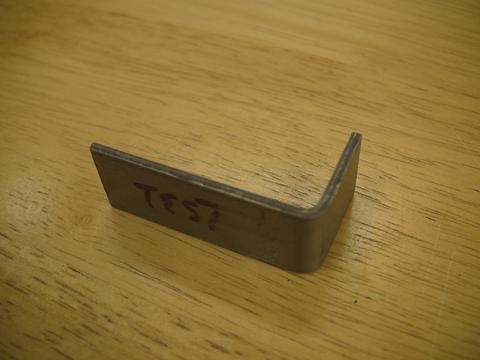
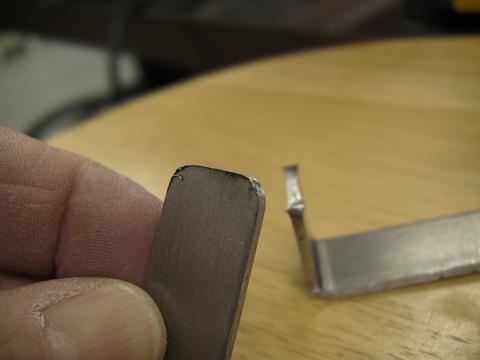
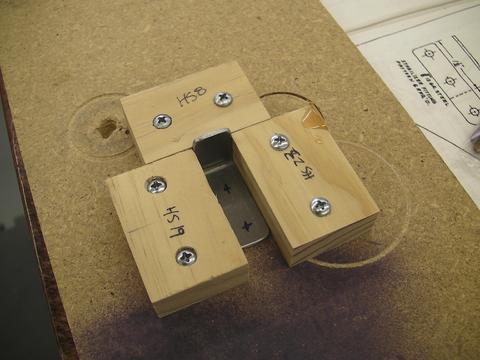
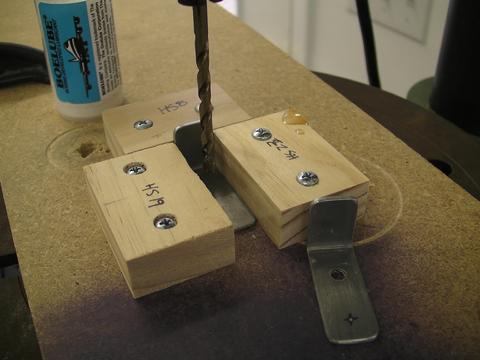
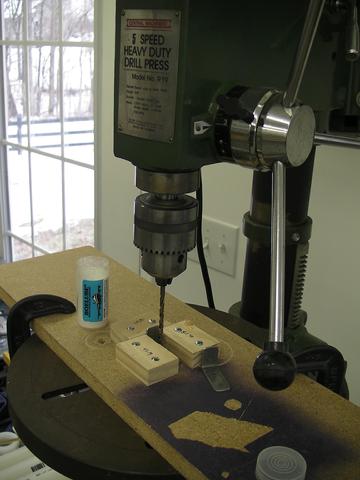
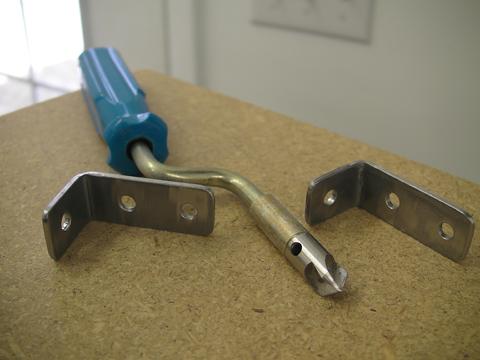
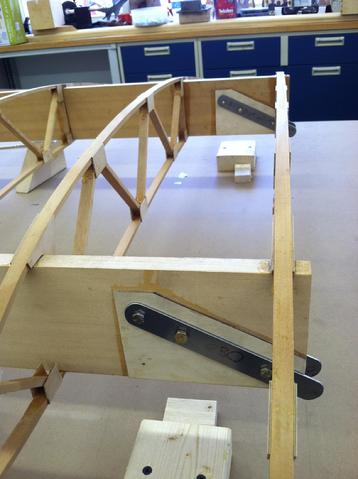
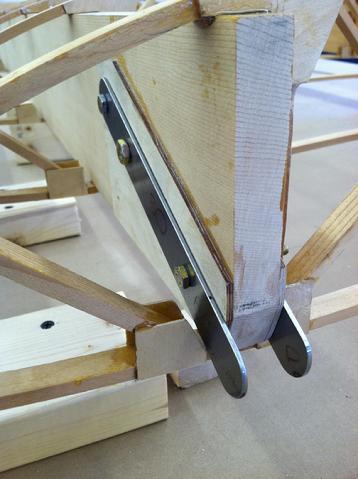
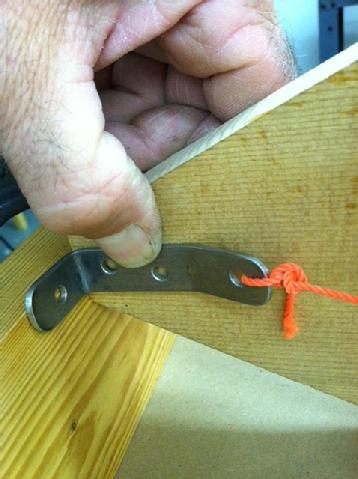
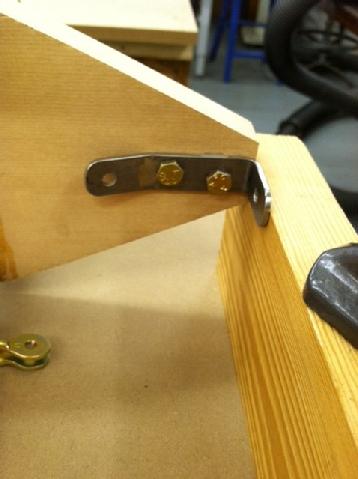
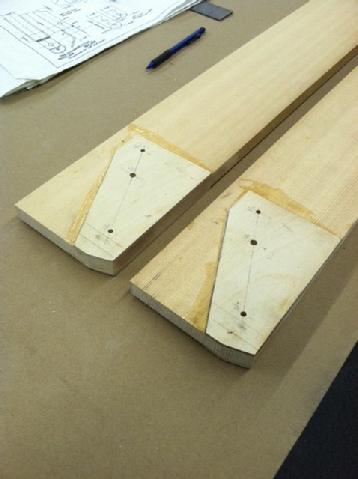
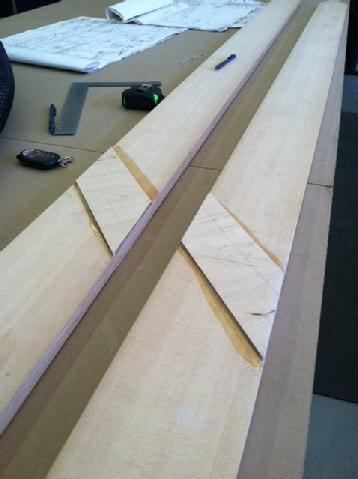
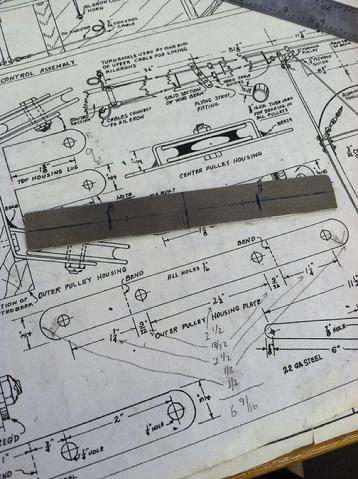
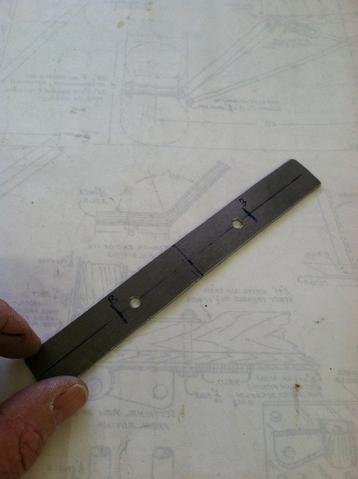
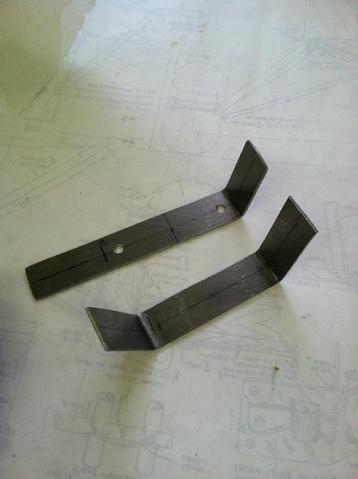
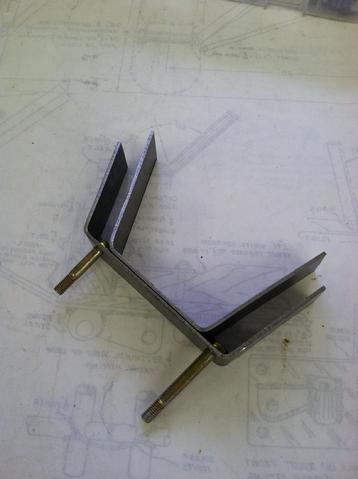
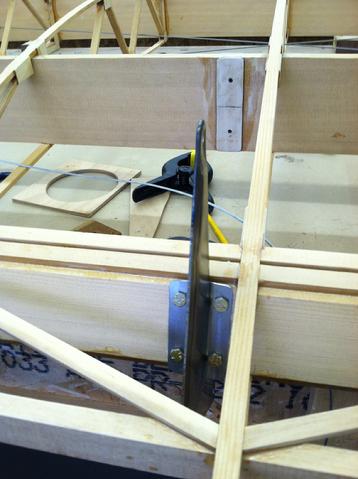
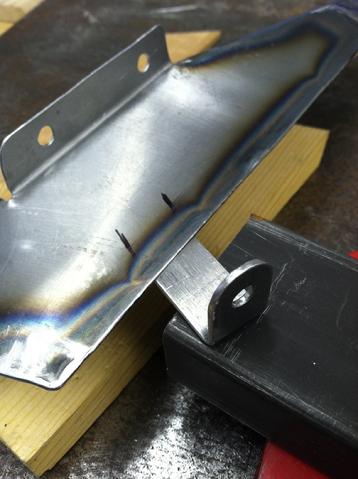
20-27 January 2010 Started the Metal Fabrication. Spent several hours working on CAD drawings for the metal part. Sent off one CAD sheet to a metal working shop to give laser cutting a try. Meanwhile I purchased a metal cutting Horizontal Band saw. I typically shy away from Harbor Freight, however several people did recommend their H. Bandsaw and on sale I was able to pick one up for $199. It is much more solid then I then their typical tools. I measured out some 4130 steel, .08, 5/8" wide by correct length and cut out the HS and VS hold down pieces of metal. The new Band Saw cut them like butter. I then bent the ends of the VS pieces into the 90' angle using a small metal brake I also purchased.Hours: 2.030 January 2010 I rounded the edges of the stabilizer pieces using a smooth grinding wheel, then smoothed the edges with a 3M Scotch-Brite disk.Hours: 1.05 February I wanted to drill identical matching holes in the metal pieces holding down the VS and HS, so I made a simple jig to hold the metal pieces. I marked one piece where I wanted the hole, then I placed this right under the drill bit on my drill press. I clamped down the jig, drilled the hole, then removed and replaced with the next piece; result: two piece with identical holes. I would then reposition the jig for the next and subsequent holes. When each piece was complete, I smoothed the holes first on the scotch-brite disk, then I use a de-burring tool on the holes to remove the rough edges.Hours: 1.010 February 2010 Some metal fittings listed here (HS braces, Lower Tail Brace, etc), but hours are accounted for in respective construction sections.Hours: 0
Rudder and Elevator Hinges...
.jpg)
Feb 2010 Purchased these hinges at Brodhead. They are a little taller then I wanted (although appear to be according to the plans) and may cause the spacing between the control surfaces to be too wide, so I may need to adjust as necessary.
Control stick, torque tube...
.jpg)
.jpg)
.jpg)
.jpg)
.jpg)
.jpg)
.jpg)
.jpg)
.jpg)
.jpg)
.jpg)
.jpg)
.jpg)
.jpg)
.jpg)
.jpg)
.jpg)
.jpg)
.jpg)
.jpg)
.jpg)
.jpg)
.jpg)
.jpg)
.jpg)
.jpg)
.jpg)
.jpg)
Also described on Flight Controls page...
Rudder Bar (for the aft cockpit)... (Also on Flight Controls page)
.jpg)
.jpg)
.jpg)
.jpg)
.jpg)
.jpg)
.jpg)
.jpg)
.jpg)
.jpg)
Also described on Flight Controls page...
.jpg)
.jpg)
.jpg)
.jpg)
.jpg)
.jpg)
Also described on Flight Controls page...
Rudder Pedals (for the front cockpit)...
.jpg)
.jpg)
.jpg)
.jpg)
22 Sept 2010 I cut out the front cockpit rudder pedal pieces out of 1/2" 4130 steel tubing 20 gage. Seven inches high and six inches across. The table cut off blade worked pretty well. I mounted a piece of 2 x 4 which I had cut at a 45' angle as a guide, then ran the tubing thru, nice clean cuts for welding.Hours: 1.0
Elevator Bellcrank...
.jpg)
.jpg)
.jpg)
.jpg)
.jpg)
.jpg)
.jpg)
.jpg)
.jpg)
.jpg)
.jpg)
.jpg)
.jpg)
.jpg)
.jpg)
.jpg)
.jpg)
.jpg)
.jpg)
Also described on Flight Controls page...
Landing Gear (Straight Axle)...
.jpg)
.jpg)
.jpg)
.jpg)
.jpg)
.jpg)
.jpg)
.jpg)
.jpg)
.jpg)
.jpg)
.jpg)
Described on the landing gear page.
Engine Mount...
.jpg)
.jpg)
.jpg)
.jpg)
.jpg)
.jpg)
.jpg)
.jpg)
.jpg)
.jpg)
.jpg)
.jpg)
.jpg)
.jpg)
.jpg)
.jpg)
.jpg)
.jpg)
.jpg)
.jpg)
.jpg)
.jpg)
.jpg)
.jpg)
.jpg)
.jpg)
.jpg)
.jpg)
.jpg)
.jpg)
.jpg)
.jpg)
.jpg)
.jpg)
.jpg)
.jpg)
.jpg)
.jpg)
.jpg)
.jpg)
.jpg)
.jpg)
.jpg)
.jpg)
.jpg)
.jpg)
.jpg)
.jpg)
.jpg)
.jpg)
.jpg)
.jpg)
.jpg)
.jpg)
.jpg)
.jpg)
.jpg)
.jpg)
As described on the Engine Mount page...
Right Wing...


23-24 March: To install the right aileron horn and the associated pulleys, first I spent an inodinate amount of time alligning both, so the cable would run out of the pulleytraight back. Holding the bracket in place with the wheel offset, and the horn level perpendicular, etc, I got good positions, marked and drilled both. I then made small adjustments to the angle of the pulley bracket so the wheels pointed exactly level with the horn attachment holes. Finally, after this was done, I made a tab for the back of the aileron horn and will weld that up.