Horizontal Stab

.jpg)
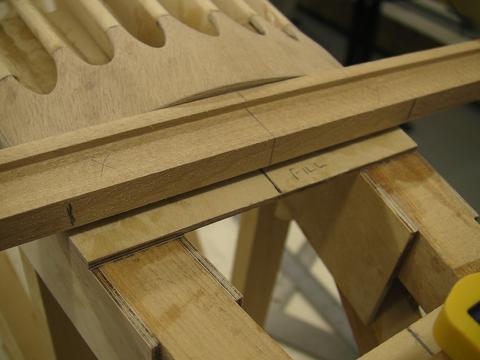
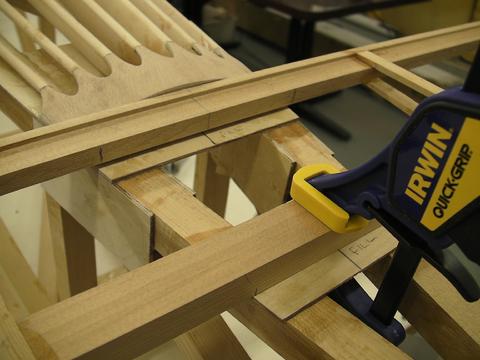
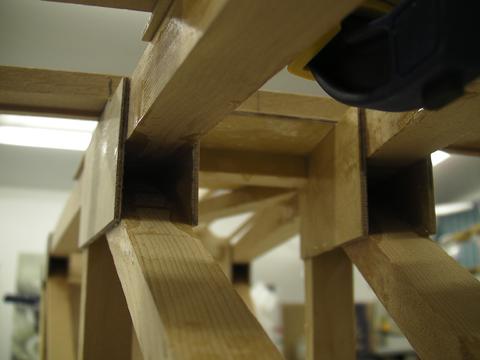
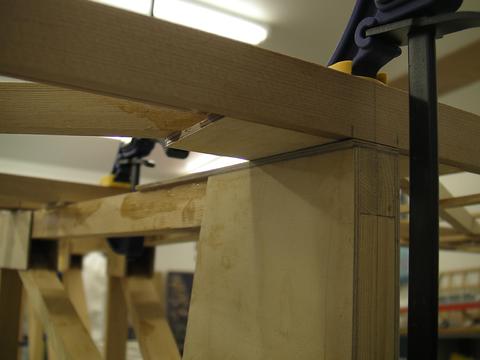
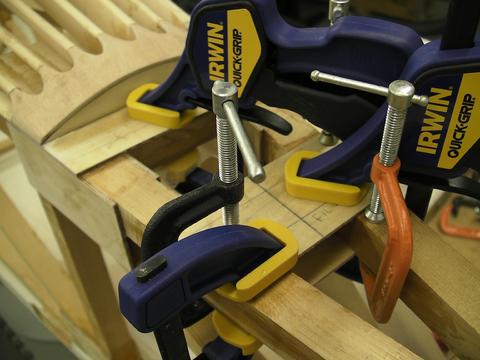
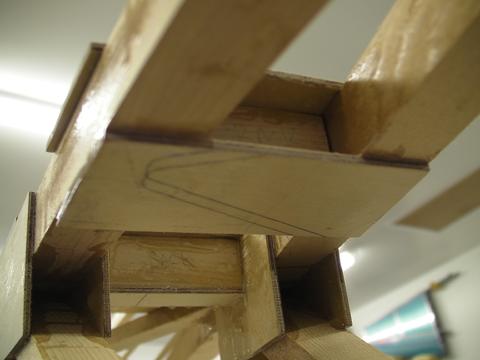

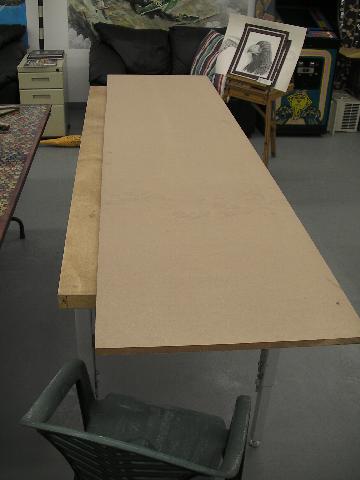
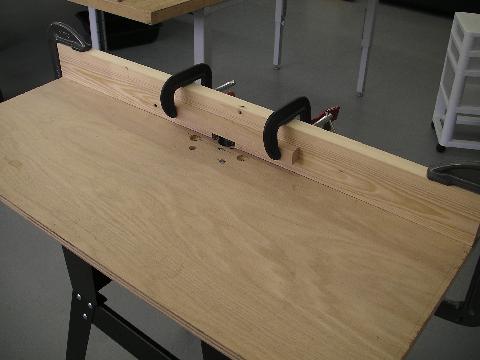
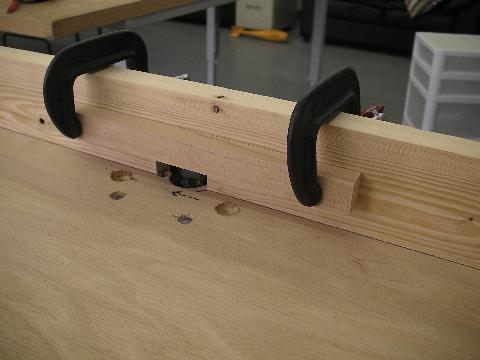
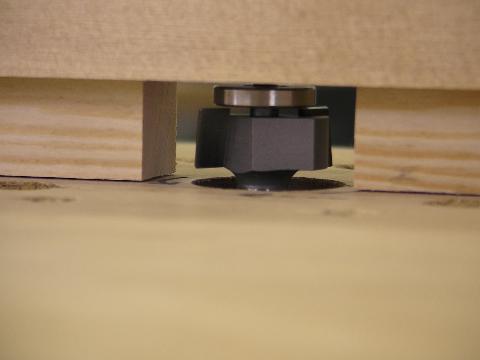
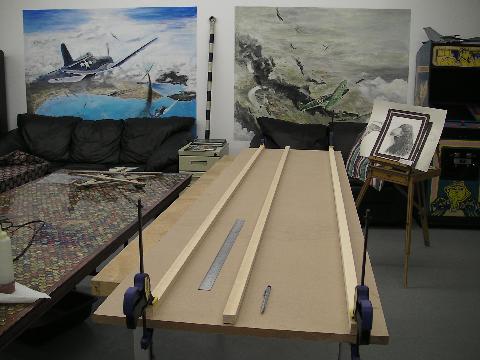
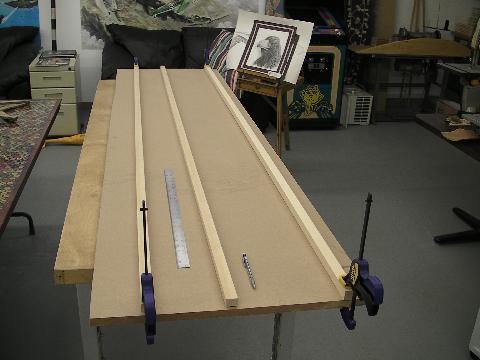
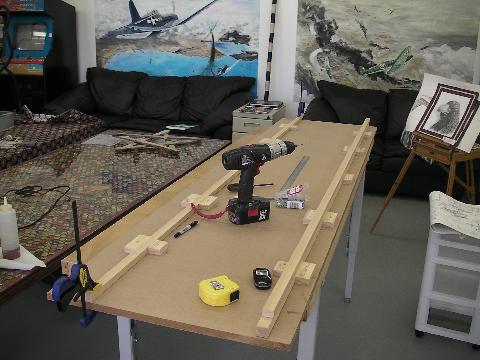
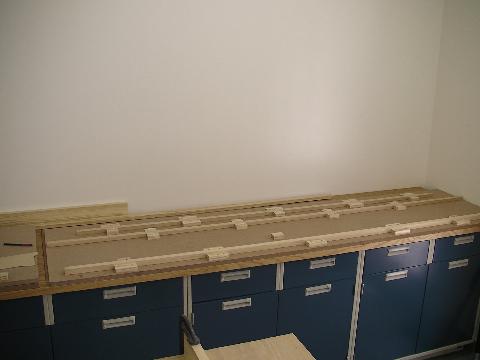
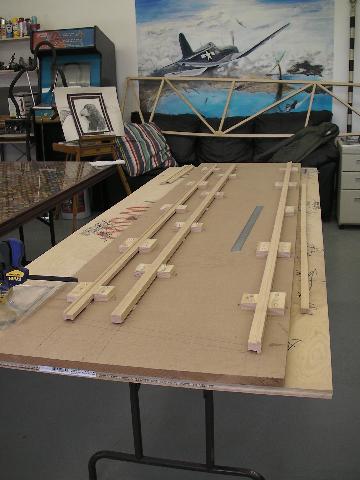
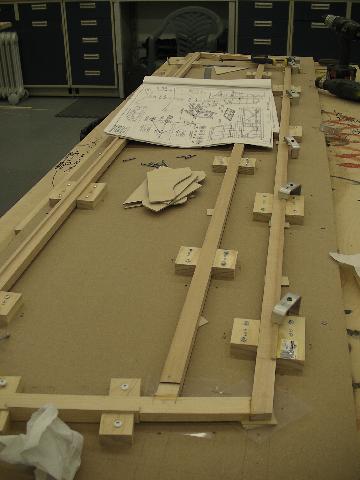
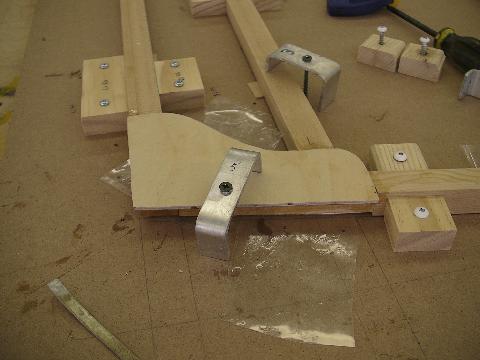
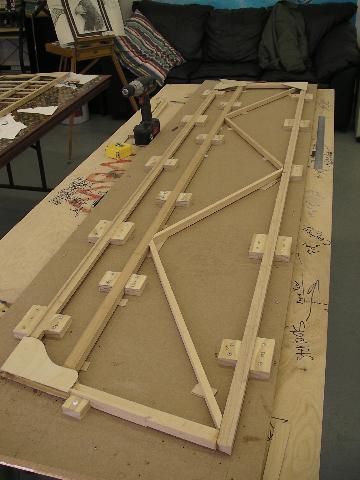
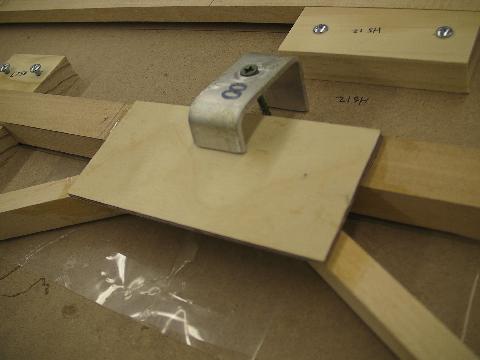
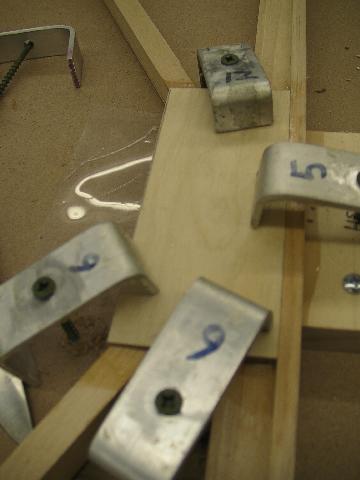
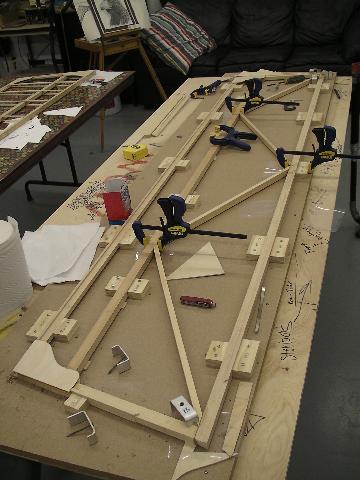
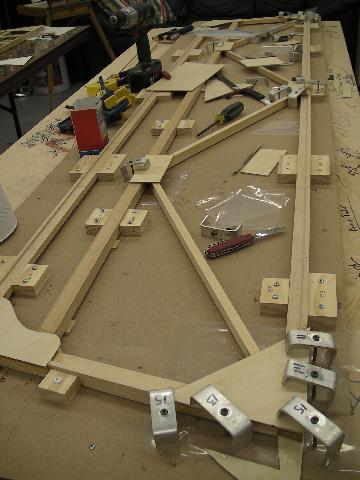
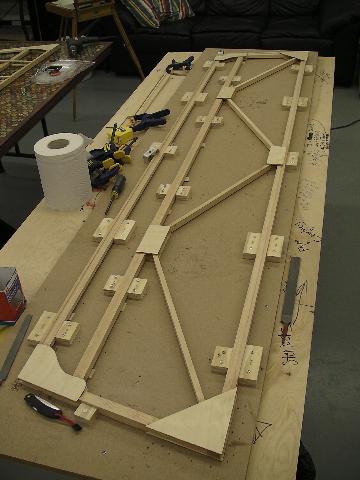
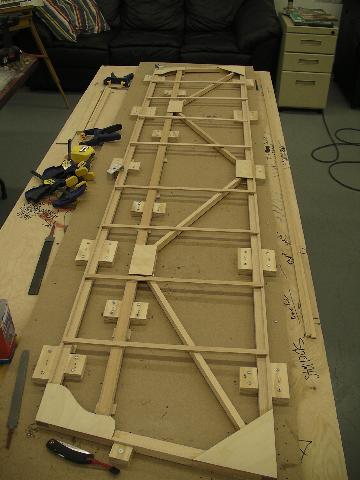
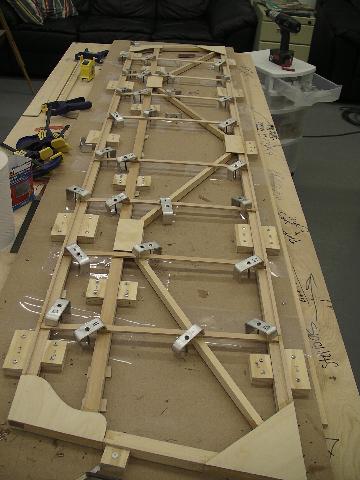
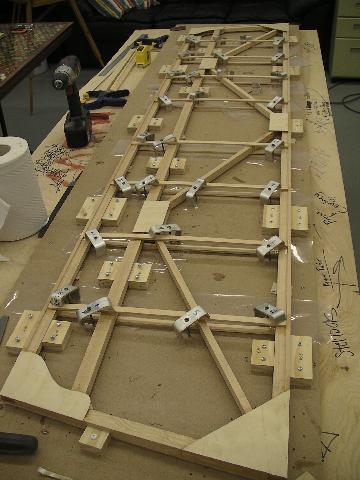
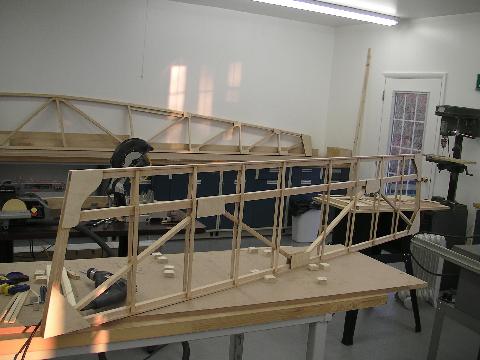
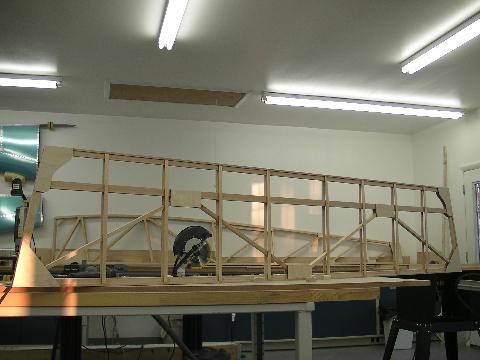
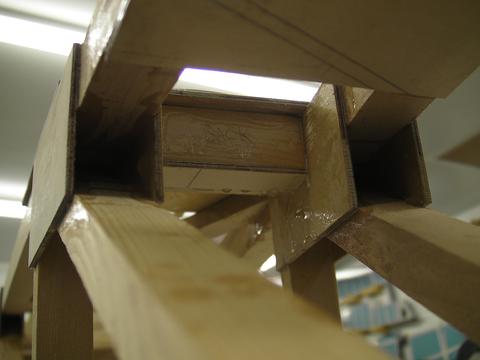
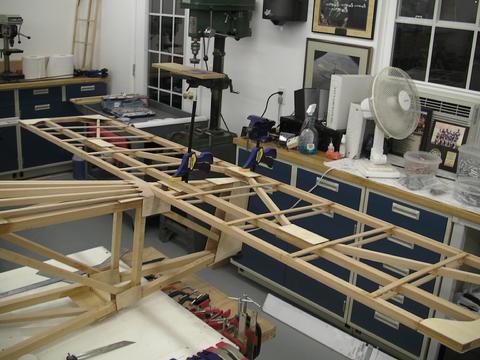
I’m a paragraph. Drag 20 Mar 2009 I cleared a table and began constructing the Horizontal stab. Ran the leading edge thru the router and it came out pretty good. The new router works pretty well.Hours: 2.021 Mar 2009 Big mistake today. Attempting to router the rear piece, I routered the the wrong side. Ouch. Then, when using a back up piece, the router bit started to spin out and ruined that piece as well. Two pieces of 8' expensive spruce down the drain. So I decided to hang it up for the night.Hours: 2.04-5 Apr 2009 New pieces of spruce arrived. I routed the main spar (correctly this time), and all other pieces and fit the HS together. I cut corner gussets from 1/8 Finnish birch and cut the corners of the spars by hand to fit and epoxied the first corners together.Hours: 3.06-10 Apr 2009 I epoxied the rest of the HS braces and gussets.Hours: 3.017 Apr 2009 I routered the corners of the HS using a flush bit (the same as a formica bit, but this one was a much better quality bit.Hours: 1.020-21 Jan 2010 I had not finished the HS pieces of plywood for the hold-down bolts. I cut these and epoxied these to the HS. Preparing to attach the Horizontal Stab to the fuselage I decided on using AN bolts, but did not want to drill thru the longerons. I filled the areas under the plywood cross braces with 1" x 1" spruce and another piece of plywood on the bottom. This way, the bolts can be drilled slightly inboard of the longerons and have plenty of material to secure to.Hours: 2.0 to add paragraph to your block, write your own text and edit me.
***
Tail feathers were sanded and finished after construction. More pictures are on "Attaching Tail Pieces" page.