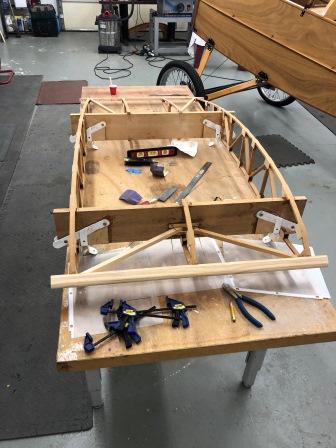
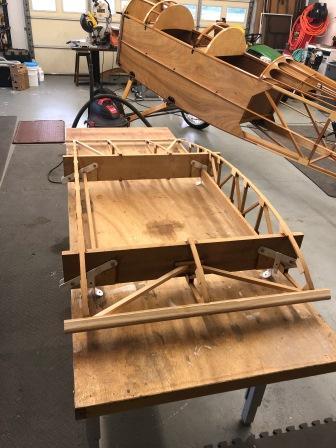
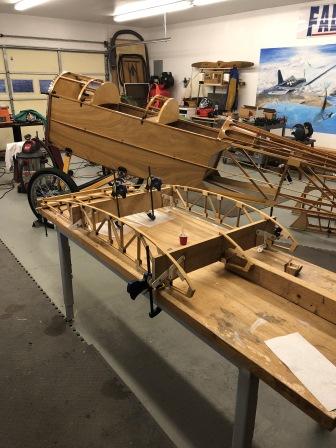
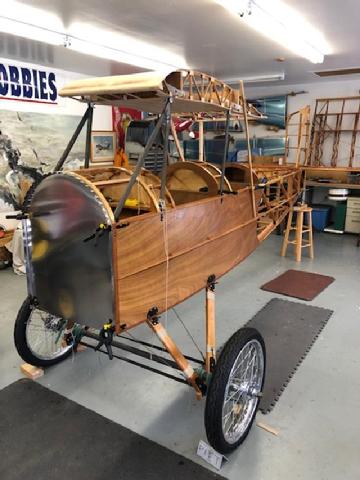
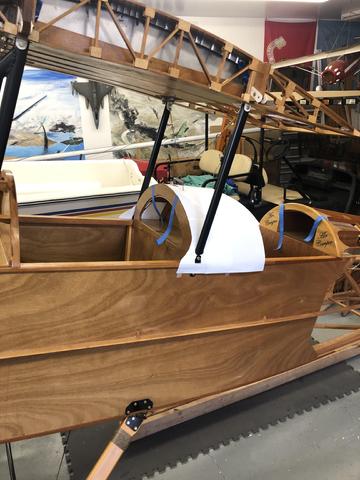
Wing Center Section
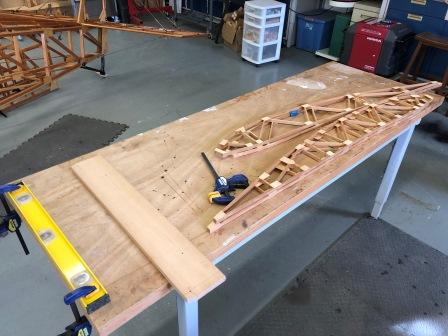
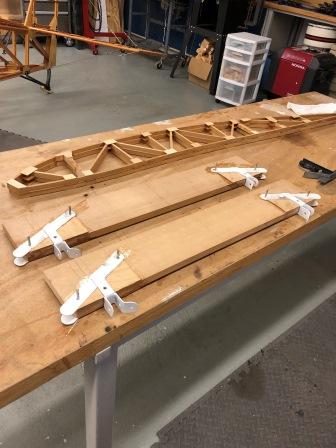
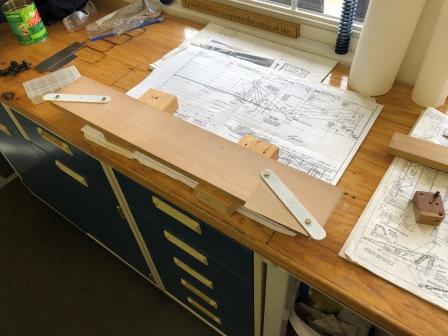
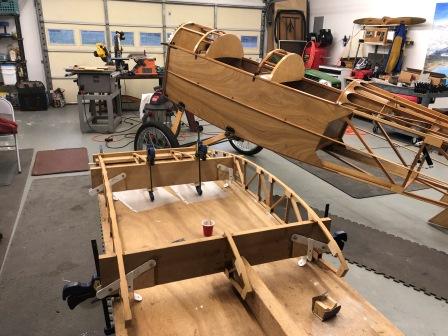
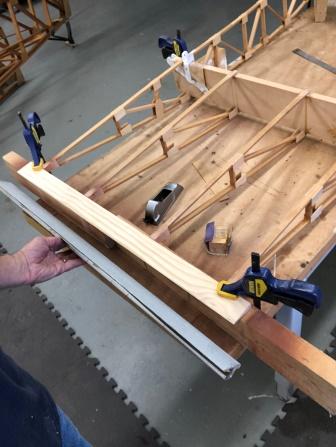
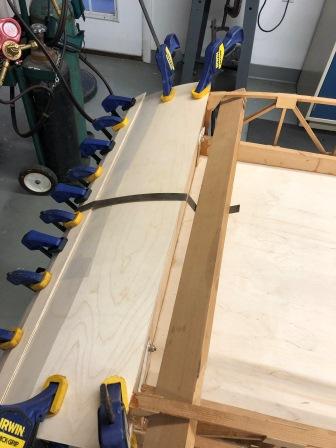
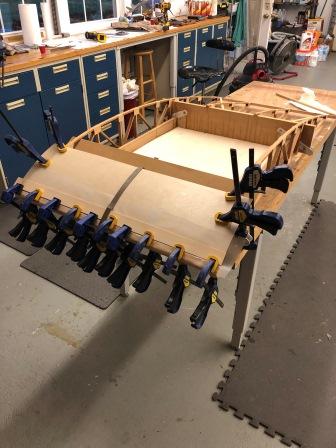
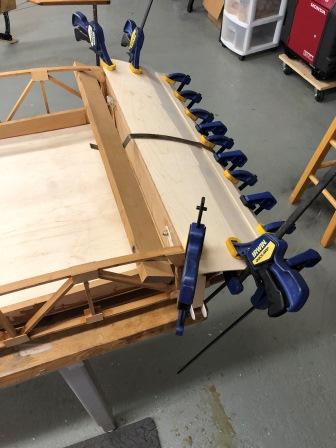
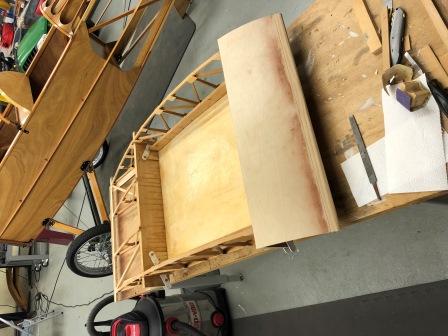
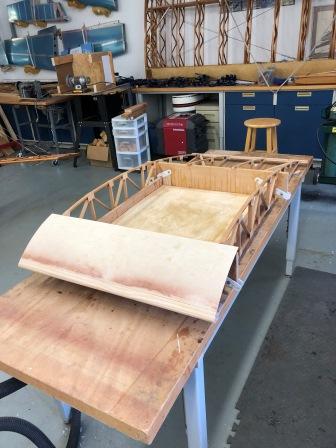
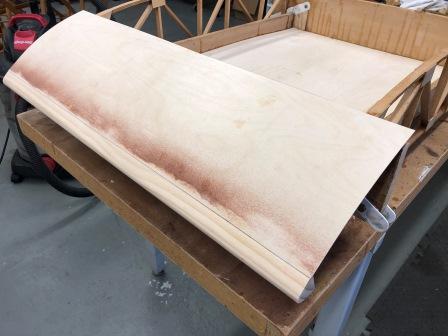
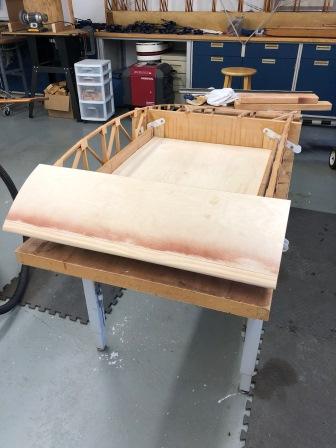
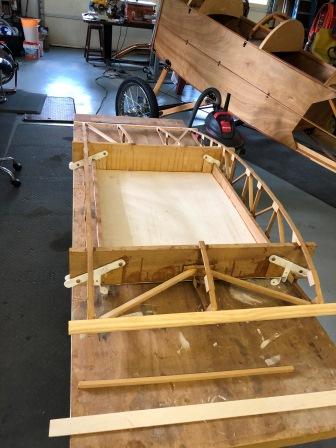
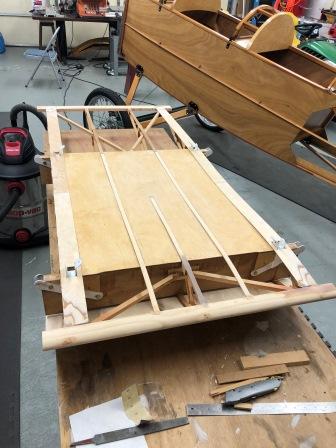
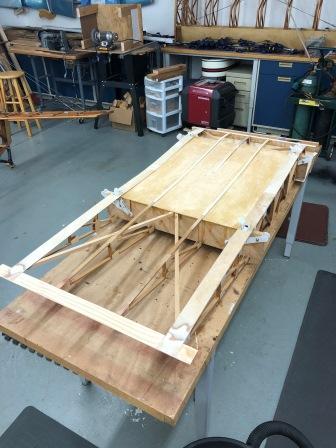
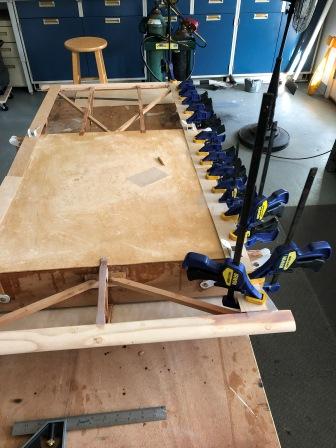
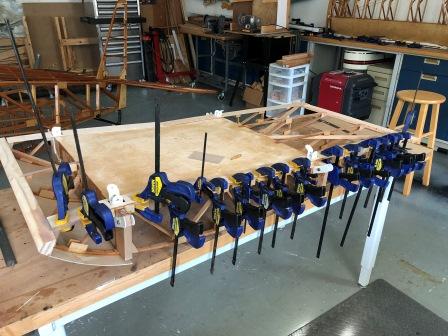
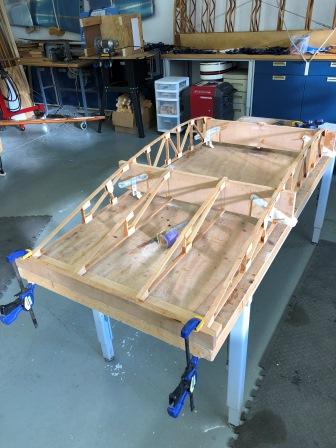
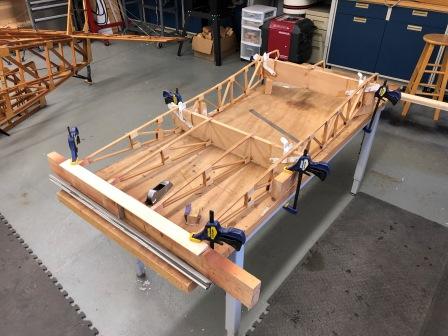
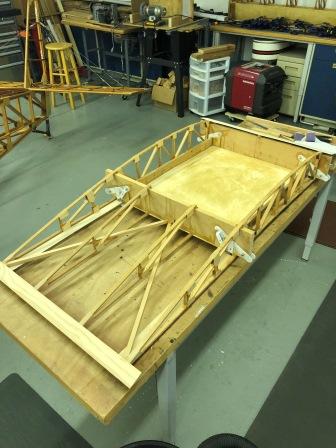
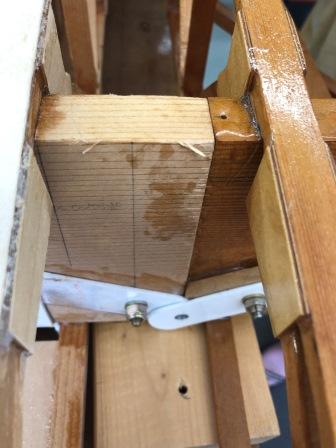
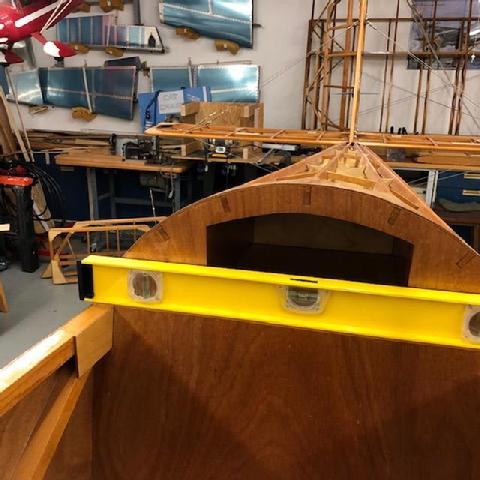
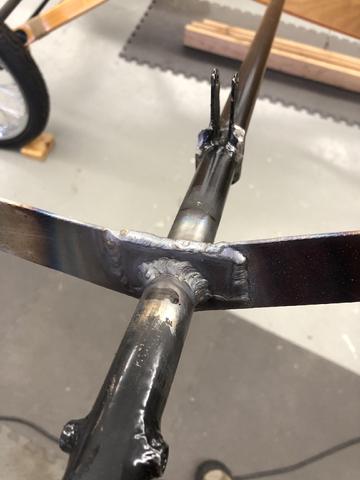
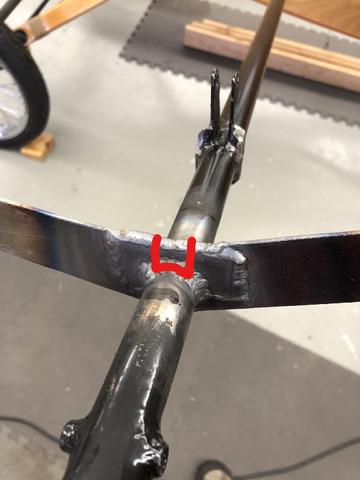
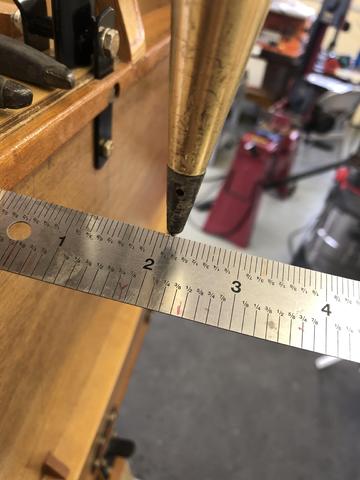
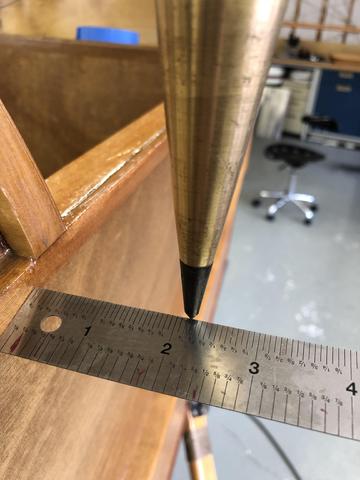
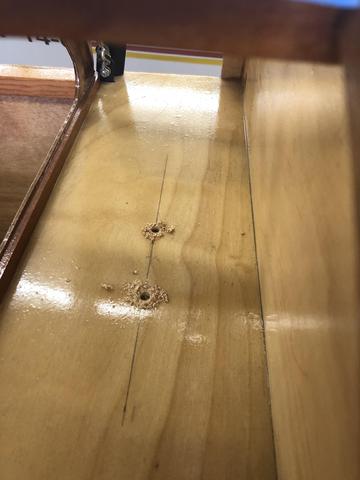
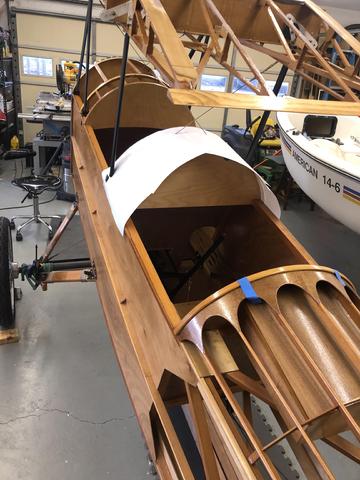
The center section was actually very fun to build and fairly stratight forward. Some forethought could go into the fuel tank bottom plywood, as when glued into place, there is not much support and it will tend to want to warp slightly. Mine did this and was just below the profile of the rib bottoms. I was going to epoxy the inside to provide fuel leak protection and when doing so, I intentionally forced the plywood up in the middle when applying epoxy, this helped bring it up in line with the rib profile. I also added some extra 1/4" x 1/2" pieces along the bottom, to simulate full ribs under te tank. Not much extra weigt here, just for esthetics. Again, the center section to time build was quick, and I was soon bringing the wings in for fitting. Some of the pictures in this section may be slightly out of order (I uploaded all of them at ine time), however, the center section can be approached and built in any different order. I first calculated the dihedral I wanted and cut the spars, then built my metal parts so the ribs could fit over. Then added the plywood, and glued on the ribs. i then added the leading and trailing edges, then all the support braces and stress braces. I then added the fuel tank bottom plywood and then the 2" rib stiffners. Once complete, and before varnishing, I brought the wings together to the center section with my friend Simon from Tazmania and drilled the attachment brackets.
Building the 3-piece wing center section...


28 Jan 2019 - Started the wing center section27 Feb 2019 - Hours: 1.0
More on the center section- Cabanes- Powder coating- Leveling
I continued the center section by finishing the cabanes, spending significant time leveling everthing, then power coating parts and varnishing.
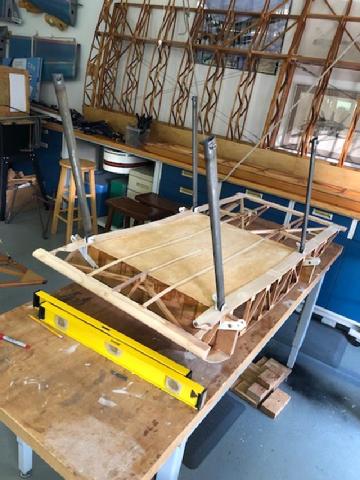
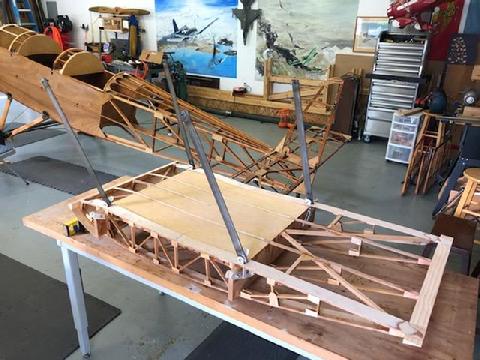

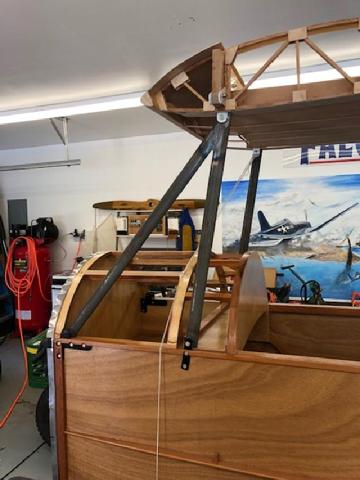
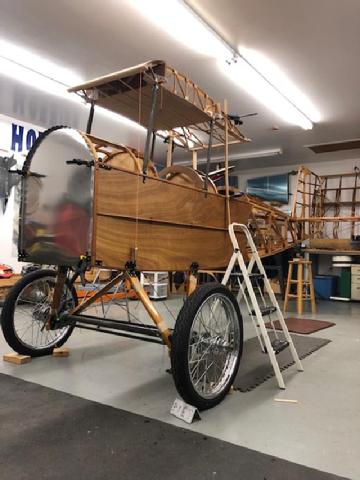
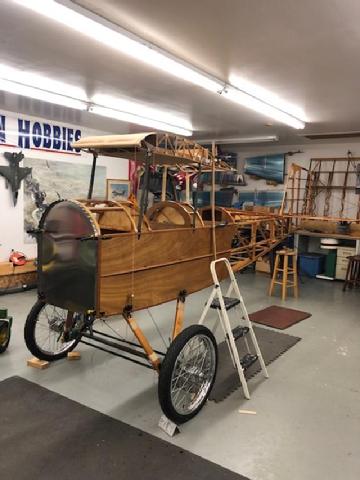


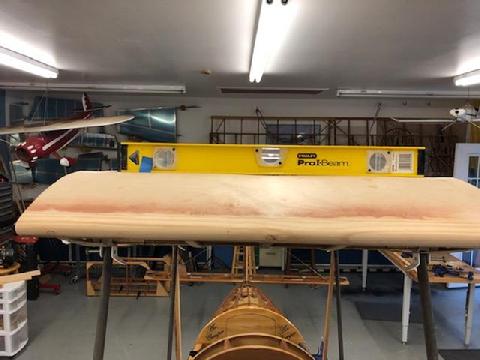
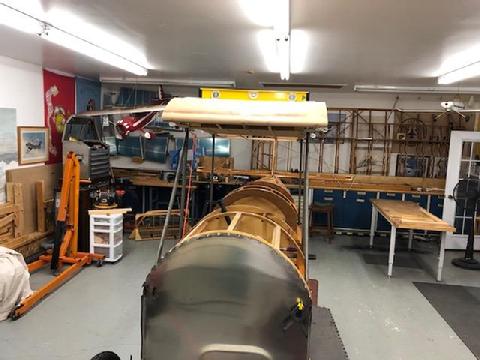
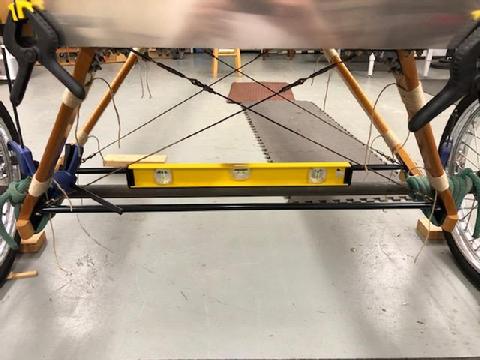
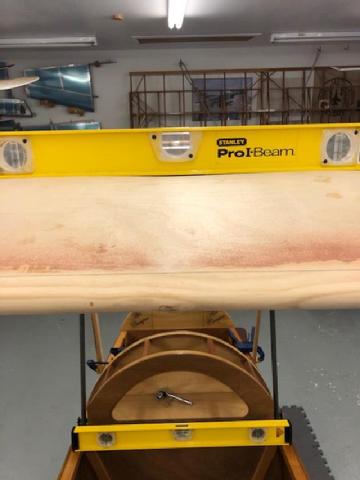
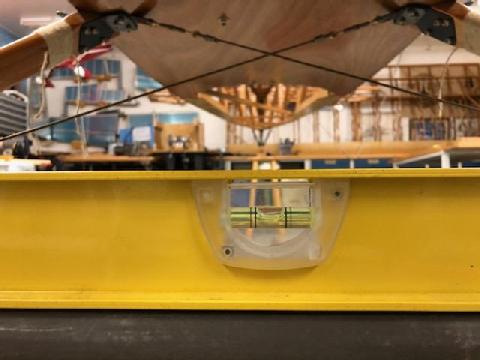

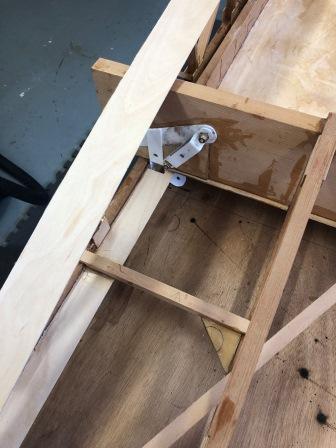
1 July - Dec 2019 - Worked on the center section. I made cabanes and after researching, measuring, and practice mounting, I decided to weld the forward cabanes into a perminant configuration, to save weight and complexity. I leveled everything the bet I could then finished the welding, having to re-weld/fix several cabanes. But finally it all worked out and is very straight and level. I powder coated all metal parts, then went back and varnished the center section. Next waiting for aluminum sheets to start the fuel tank.Hours: 20.0
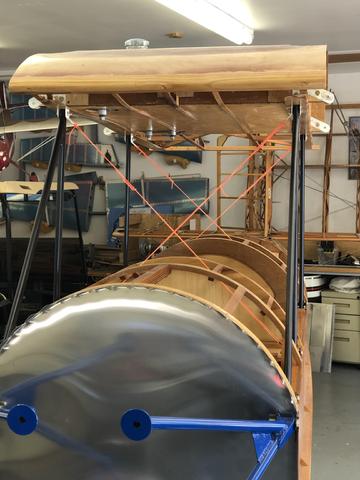
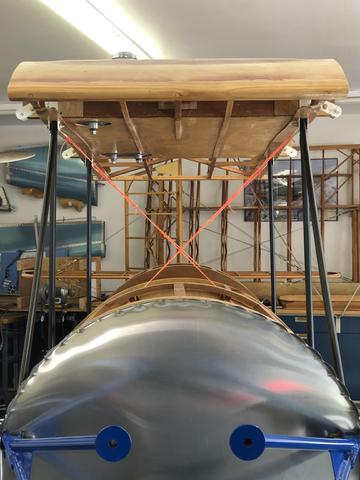

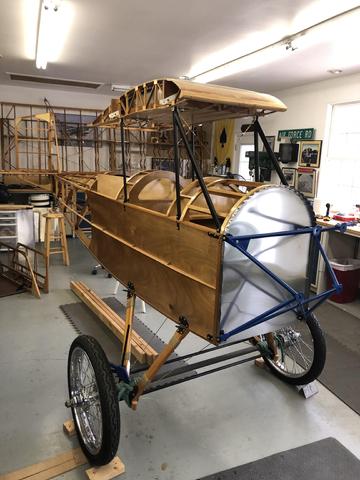
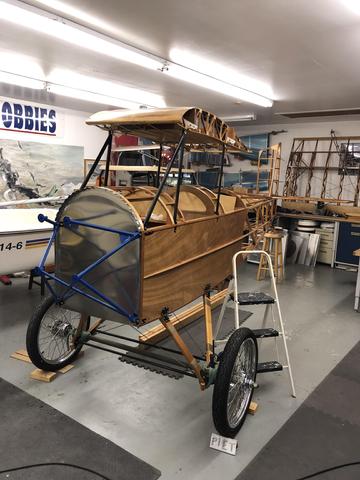
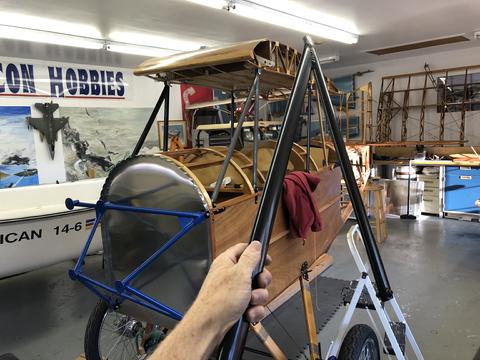
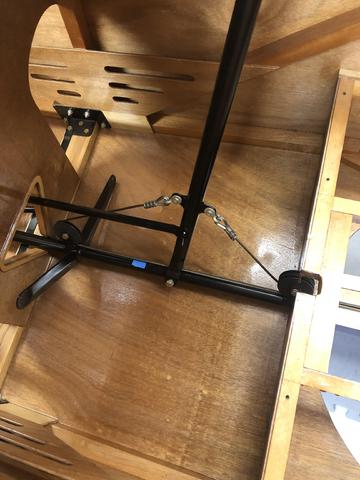

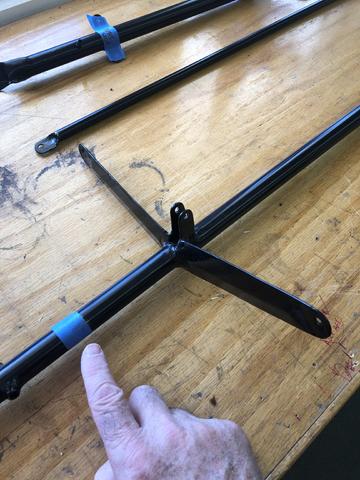
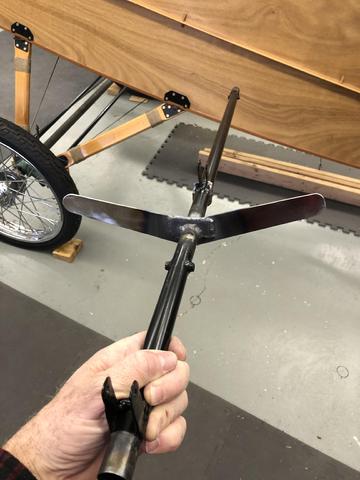
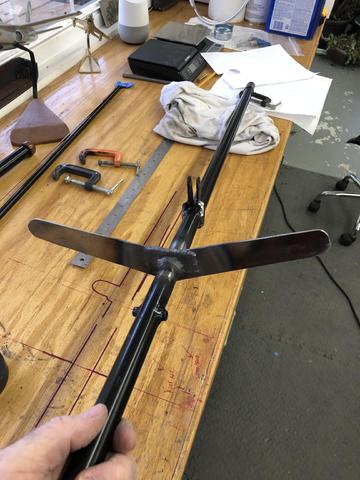
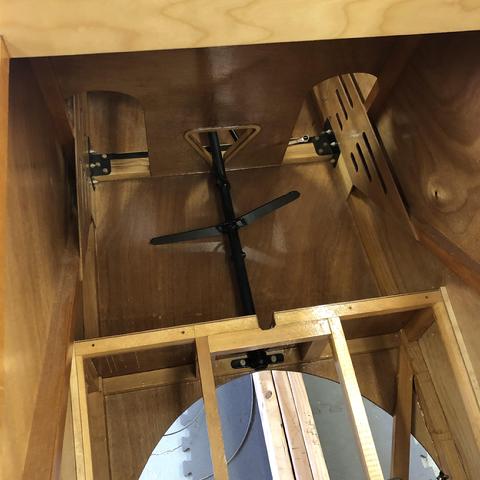
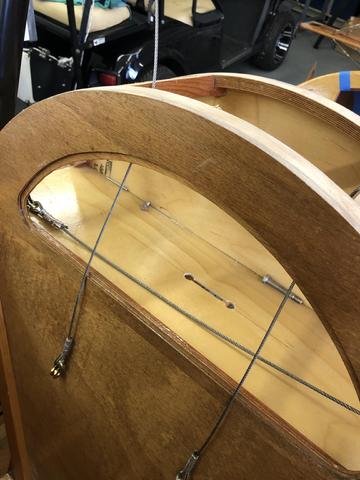
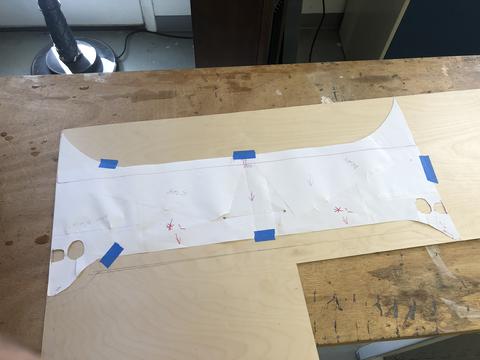
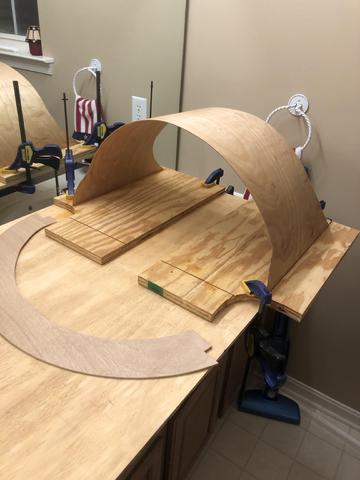
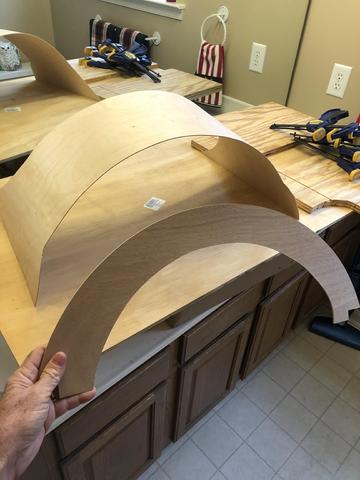
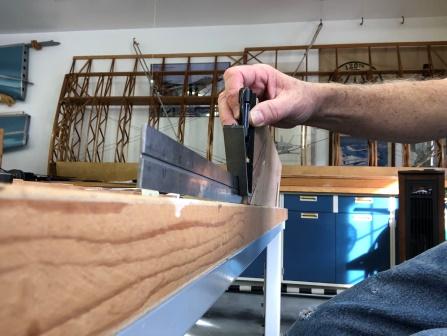
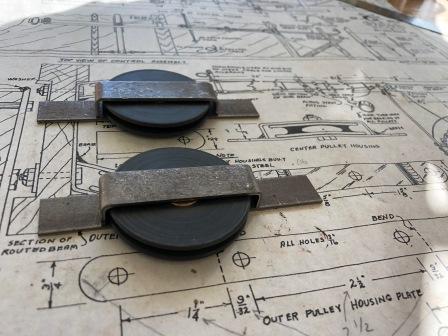
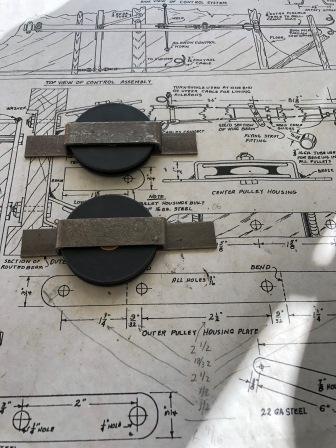
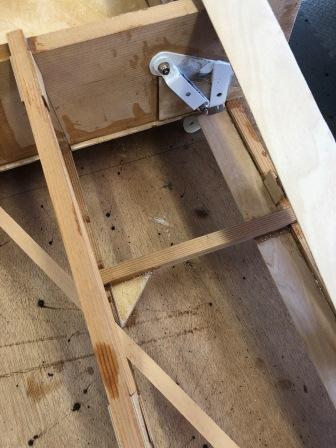
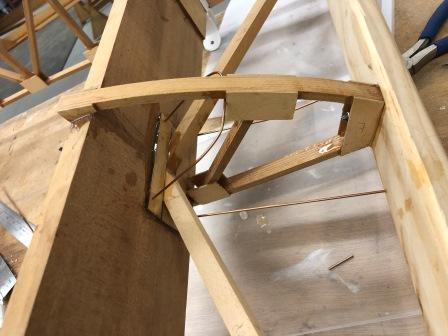
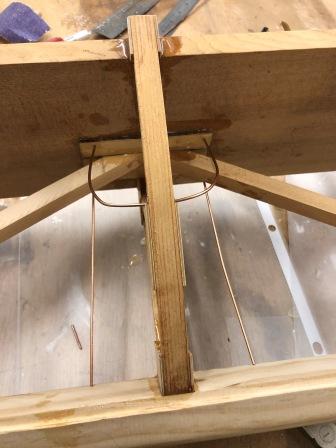
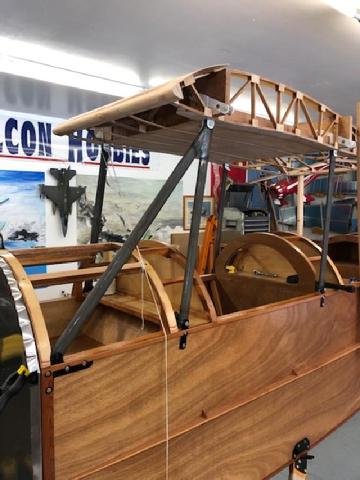
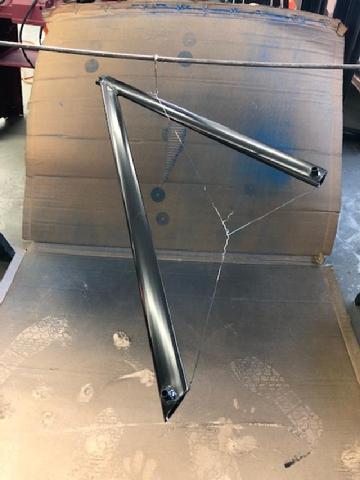
1 Jan - Feb 2020 - Continued work on the cemter section (CS). After leveling the CS, one cabane (the forward portside ended up slightly out of allignment. After attempting to re-weld the cabane, I decided to instead, make a new one. So more material was ordered and I rewelded up the cabane, in the inverted "Vee" shape to fit correctly. I then releveled the CS and tightened up the cabanes, then made and installed the cross bracing, as per plans. After this, I started to make aileron control wires ** when I realized the control "wings" on the control arm were in the incorrect location. I had welded them according to plans, when the cabanes were going to be vertical. However, months before I had measured, calcuated and decided to rake the wing back 4-6", thus the control horn "wings" needed to be moved back the same amount. I stoped and rewelded the control horn and reinstalled it. Then I added the control wires.I then cut out some paper to make a template for the fuselage cover between the forward and rear cockpits. I transferred this template to plywood, steamed the wood and bent it into the shape I needed. I marked and cut the holes for all the wires.Hours: 10.0